


*article updated on September 8, 2024
Jenkins and Docker go well together. Containers are powerful tools for building software in different environments, and Jenkins itself is easy to run in a container. But how do you manage a Jenkins controller and agents together in Docker?
In this tutorial, you’ll see how easy it is to install and run Jenkins with Docker Compose. Let’s get started.
What Is Docker Compose?
Sometimes, you need to run more than one container, but you don’t want or need the complexity of Kubernetes. You also don’t want to manage a bunch of shell scripts, especially when the containers need to talk to each other.
You need Docker Compose. It’s a tool for defining how to run multiple containers in a single configuration file and start, stop, and restart them with a single command.
Since Docker Compose lets you configure related containers in a single YAML file, you get the same Infrastructure-as-Code abilities as Kubernetes. However, properly defining how containers execute using CMD vs. ENTRYPOINT is crucial to ensuring your services start as expected in a Compose setup. But they come in a simpler system that’s more suited to smaller applications that don’t need Kubernetes’ resiliency and scaling.
What Is Jenkins?
Jenkins is an automation server. While you can use it to automate just about any task, it’s most often associated with building source code and deploying the results. For many, Jenkins is synonymous with continuous integration and continuous delivery (CI/CD).
One of Jenkins’s most powerful features is its ability to distribute jobs across multiple nodes. A Jenkins controller sends jobs to the appropriate agent based on the job requirements and the resources available at the time.
While it’s possible to run jobs on the controller, it’s considered a best practice to always create at least one agent and run your jobs there. So, we’ll use Docker Compose to do just that.
Prerequisites
If you want to try out the sample configurations, you’ll need a system with Docker and Docker Compose installed. You’ll also need access to Docker Hub to download the latest Jenkins images.
To keep the tutorial simple and easy to follow, it will run the containers as root. In a production environment, you would add a Jenkins user with a user ID of 1000 to the systems running Jenkins controllers and agents.
Running Jenkins With Docker Compose
You can run a Jenkins controller with a single Docker command:
$ docker run -it -p 8080:8080 jenkins/jenkins:lts
That will give you a running Jenkins controller. You can set it up, log in, and start running jobs. But if you restart it, you will lose all your data. You need to set up a volume to start the Jenkins instance data.
Let’s use Docker Compose to do that.
Create a directory named jenkins_compose and create a file named docker-compose.yaml with these contents.
LANG:code
1  # docker-compose.yaml
2  version: '3.8'
3  services:
4    jenkins:
5      image: jenkins/jenkins:lts
6      privileged: true
7      user: root
8      ports:
9       - 8080:8080
10      - 50000:50000
11    container_name: jenkins
12    volumes:
13      - /home/${myname}/jenkins_compose/jenkins_configuration:/var/jenkins_home
14      - /var/run/docker.sock:/var/run/docker.sock
Line #1 is a comment.
Line #2 tells Docker Compose which version of the Compose specification we’re using. As of the time of this writing, 3.8 is the latest.
Line #3 starts defining services. For now, we just have one.
The rest of the file defines the Jenkins container.
It will run the latest Jenkins image with root privileges. We’re running the container with host networking, so lines #9 and #10 tell Docker to redirect ports 8080 and 50000 to the host’s network.
The container’s name is Jenkins.
Finally, /home/${myname}/jenkins_compose/jenkins_configuration is mapped to /var/jenkins_home in the container. Change /home/${myname} to your user’s home directory or the path you created the new directory in.
Run Jenkins Controller
Now, it’s time to run your Jenkins controller.
Run docker-compose in the directory where you placed docker-compose.yaml.
$ docker-compose up -dCreating jenkins … done
Now point a web browser at port 8080 on your host system. You’ll see the unlock page.
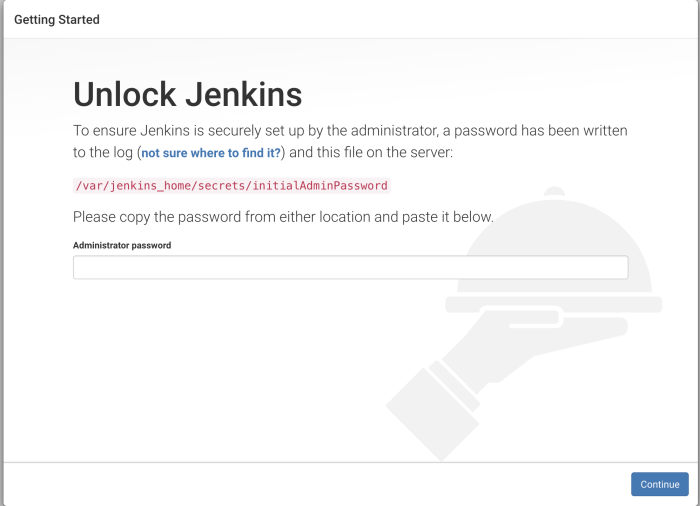
The page tells you to find the initial password in a log file, but Jenkins also prints it to standard output. You can retrieve it from the Docker log.
Go back to your shell and view the logs with docker logs.
$ docker logs jenkins | less
Look for a block enclosed with six lines of asterisks like this:
LANG:code

*************************************************************
*************************************************************
*************************************************************

Jenkins initial setup is required. An admin user has been created and a password generated.
Please use the following password to proceed to installation:

c061b679107a4893b5383617729b5c6a

This may also be found at: /var/jenkins_home/secrets/initialAdminPassword

*************************************************************
*************************************************************
*************************************************************
Enter the password and click Continue.
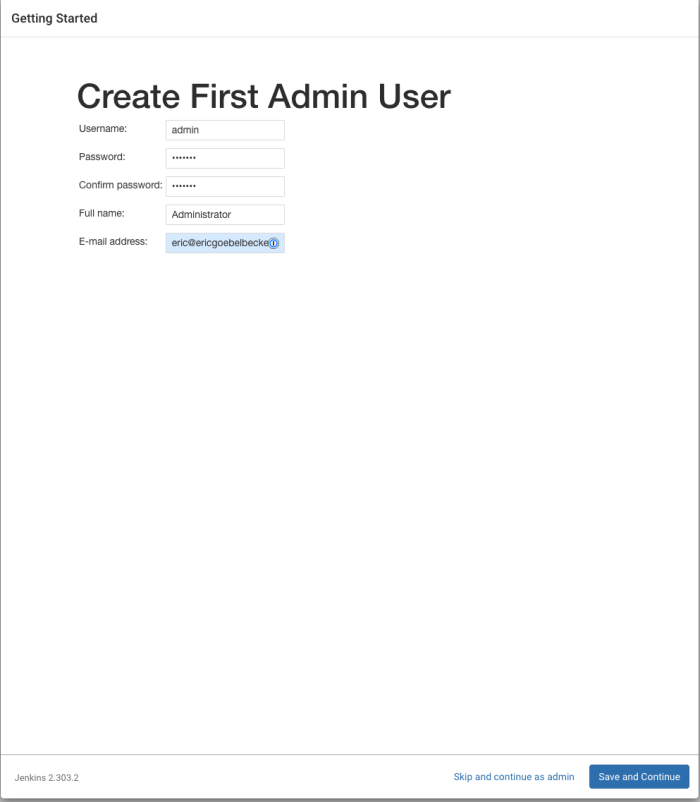
On the next page, select Install Suggested Plugins. When Jenkins finishes, it will prompt you for a new admin user and password. Enter a username and password, and click Save and Continue.
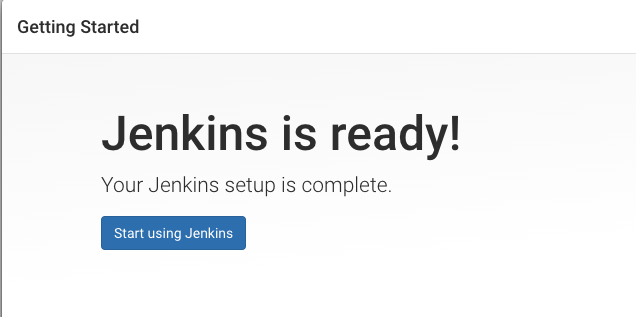
The next page gives you a chance to change the host name of your controller. For this tutorial, you can accept the default and click Save and Finish.

You’re ready to set up an agent!
Adding a Jenkins Agent With Docker Compose
Now, it’s time to add an agent. Before you add anything to the Docker Compose configuration, you need to generate an SSH key. This key will allow the controller to access the agent via SSH.
First, use ssh-keygen to create a key.
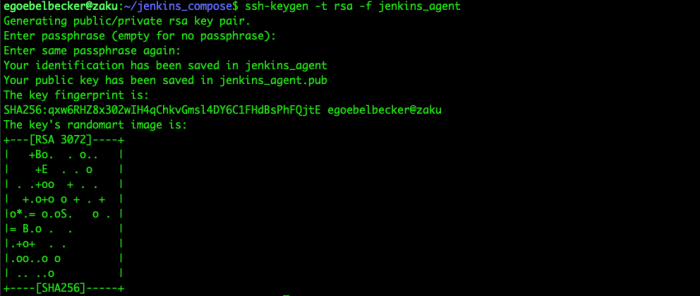
This command creates two files: jenkins_agent, which holds the private key, and jenkins-agent.pub, the public key.
Here are the contents of jenkins_agent (provided as an example for the purposes of this tutorial).
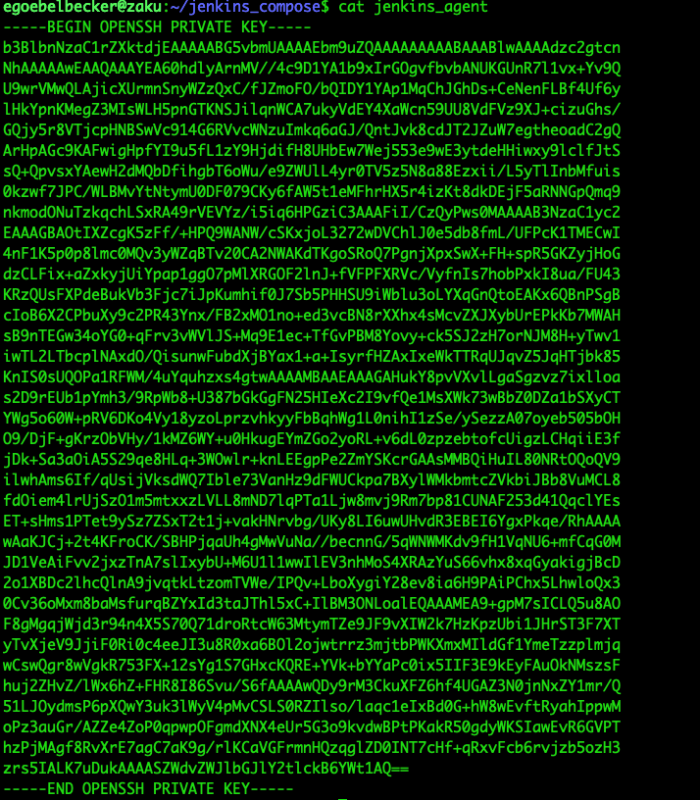
We’ll use this first to give the controller access to the agent.
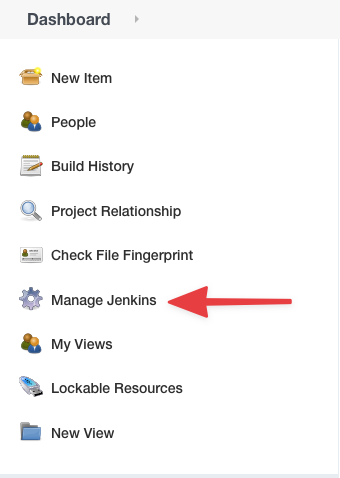
Start with the Manage Jenkins menu.
Then go to Manage Credentials.

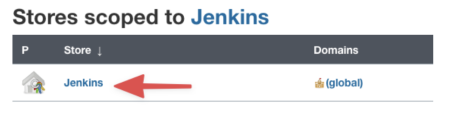
Click Jenkins under Stores scoped to Jenkins.
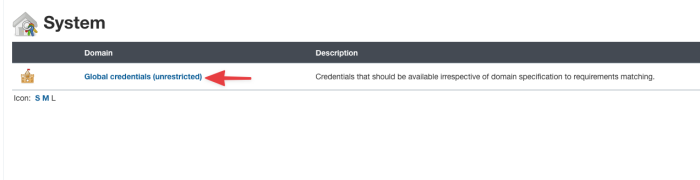
Then click Global credentials.
Finally, click Add Credentials in the menu on the left.

Set these options on this screen.
- Select SSH Username with private key.
- Limit the scope to System. This means the key can’t be used for jobs.
- Give the credential an ID.
- Provide a description.
- Enter Jenkins for a username. Don’t use the username used to create the key.
- Under Private Key, check Enter directly.
Now, paste the contents of jenkins_agent in the text box.
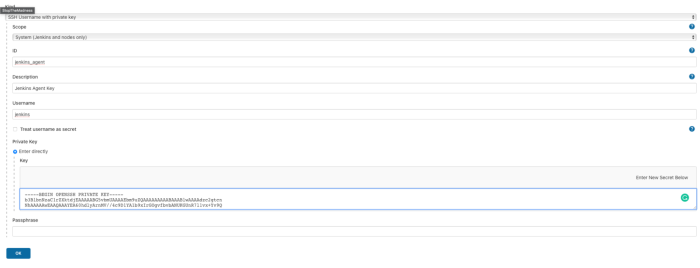
Click OK to save the credential.
Now, it’s time to set up the agent.
Here are the contents of jenkins_agent.pub.

We’ll use this in docker-compose.yaml.
Add a new service.
LANG:code
1  # docker-compose.yaml
2  version: '3.8'
3  services:
4    jenkins:
5      image: jenkins/jenkins:lts
6      privileged: true
7      user: root
8      ports:
9        - 8080:8080
10      - 50000:50000
11    container_name: jenkins
12    volumes:
13      - /home/${myname}/jenkins_compose/jenkins_configuration:/var/jenkins_home
14      - /var/run/docker.sock:/var/run/docker.sock
15  agent:
16    image: jenkins/ssh-agent:jdk11
17    privileged: true
18    user: root
19    container_name: agent
20    expose:
21      - 22
22    environment:
23      - JENKINS_AGENT_SSH_PUBKEY=ssh-rsa AAAAB3NzaC1yc2EAAAADAQABAAABgQDrSF2XICucxX//hz0PVgDVv3EisY6C99u9sA1QoZSdHuXW/H5i/1BT3CtUzBAsCOJxdSuadKfJZnNDEL98lmagU79tAgNjVgCnUyoKEkaEOz4J416cUsF/hR/rKUeRimcox6BncwixYsfmmcZMo1ImKWqdYIDu6TJV0RjhdpZyfn1RTxV0VXP1cn5yLO4aGz8ZCPLmvxVONykc0FLBVz3XgbpFW9xY3O4iaSrpoYn9Ce0m+Txx0lPYlm5bt6C2F6hp0LaBACsekAZz0oAXCKAel9gj27l8vXNj0eN2J8fxQdsTDtZ6Pnnd73ATfK114ceLDHL2VyV8m1KxD5Cm+zFgB7AfZ0xBsN+KGBtPqha7971lZSUvjKvRNXnPk3xrzwTPGKL8vnJOUidsx+6KzSTPB/sk8L9YsEy9i023KZTQMXTv0IrLp8Bbm3V4wWGsdfmviLMq3x2QMSMXlpE00alCar2eSah0425POSpyEtLFEDj2tURVjP+LmKroc8bOILc= egoebelbecker@zaku
Lines #15 through #22 define a new container with jenkins/ssh-agent:jdk11 image and options similar to the controller, except you’re exposing the SSH port, 22.
Lines #22 and #23 add an environment variable with the public key. Add the exact contents of the text file, including the ssh-rsa prefix at the beginning. Don’t enclose it in quotes.
Ready to Go
Now it’s time to start everything up.
If you haven’t already, stop Docker Compose.
$ docker-compose down
Then, start everything back up again.
$ docker-compose up -d
Creating network "jenkins_compose_default" with the default driver
Creating jenkins ... done
Creating agent ... done
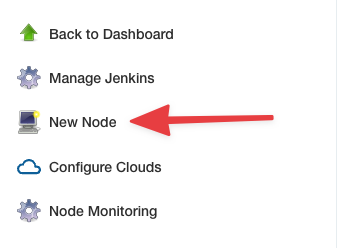
Head back to Jenkins, click Manage Jenkins, and select Manage Nodes and Clouds instead of Credentials.
Click New Node.
Now define your Jenkins agent.
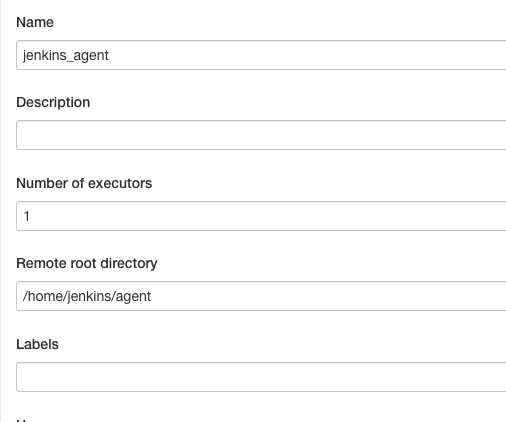
At the top of the form, give your agent a name and set the Remote root directory to /home/jenkins/agent.
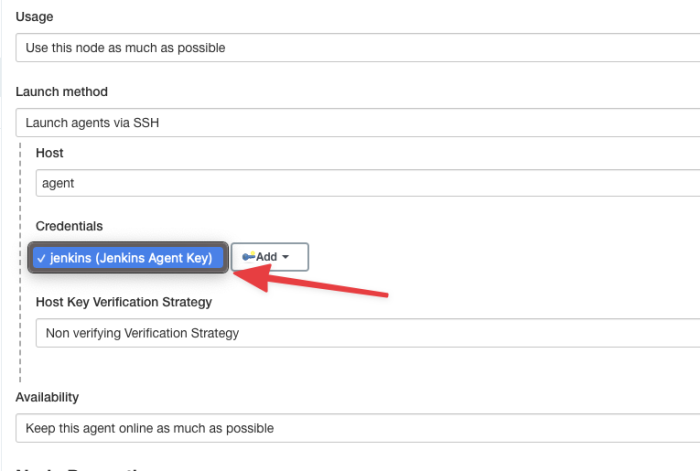
Then, in the next part of the form, select Use this node as much as possible under Usage.
Under Launch method, select Launch agents via SSH.
For Host, enter agent. Each container can reach the others by using their container names as hostnames.
Next, click the dropdown under Credentials and select the one you just defined.
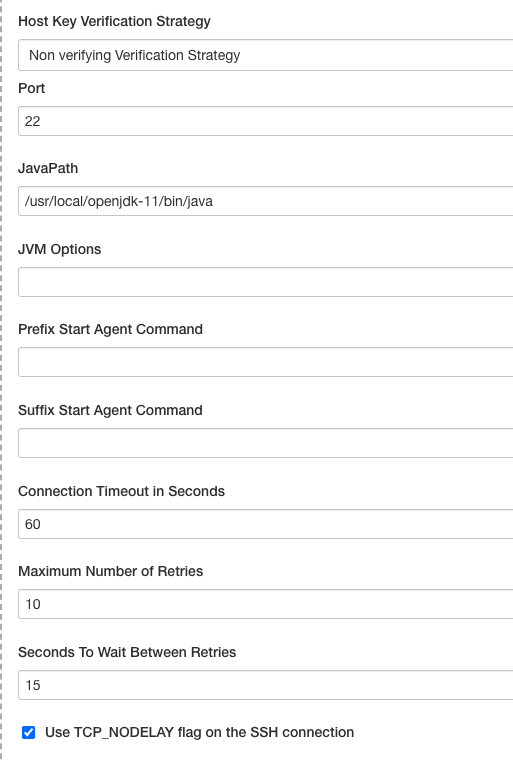
Now, under Host Key Verification Strategy, select Non verifying Verification Strategy.
Click Advanced on the right.
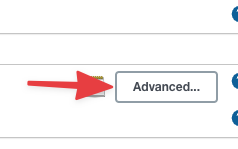
This opens the advanced configuration page. You need to change one setting here. Set the JavaPath to /usr/local/openjdk-11/bin/java.
Click Save at the bottom, and now it’s time to watch the agent start.
Jenkins will take you back to the node list. Click on your new node name.
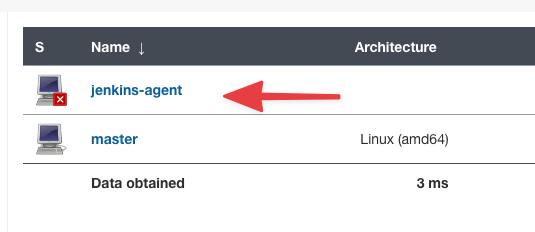
Then click on Log in the menu on the left.
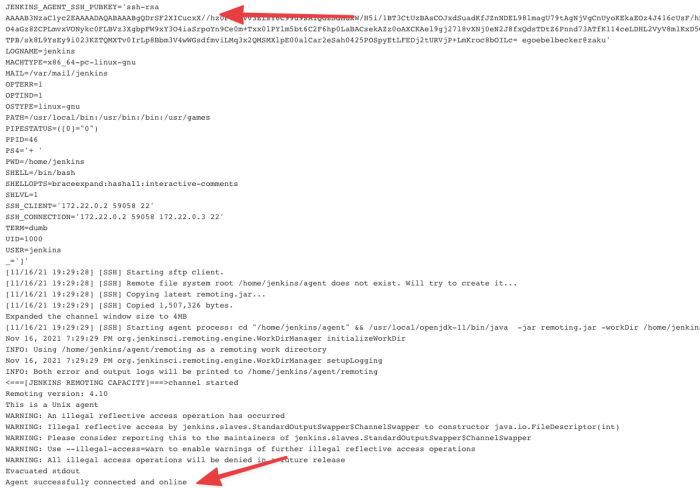
The most important entry you’ll see is Agent successfully connected and online.
But if you look at the other entries, you’ll see plenty of information about your agent, including the SSH key.
Explore Docker Compose
You configured a Jenkins controller with Docker Compose. You set it up with a volume so it saved its instance data between restarts. Then, you added a Jenkins agent to the Docker Compose configuration and set it up to talk to the controller.
This is just the beginning of Docker Compose’s capabilities and how the tool can help you administer your CI/CD infrastructure. Get started with Docker Compose today!
This post was written by Eric Goebelbecker. Eric has worked in the financial markets in New York City for 25 years, developing infrastructure for market data and financial information exchange (FIX) protocol networks. He loves to talk about what makes teams effective (or not so effective!).


