
CI/CD
Accelerate delivery with smarter CI/CD automation
Automate pipeline generation, approvals, and quality gates, cutting manual work and reducing flaky builds and deployment risk.


Streamlined CI/CD workflows
Accelerate build, test, and deploy with reusable workflows, policy-driven gates, and centralized enforcement to reduce pipeline drift, failures, and release risk without forcing teams onto a single CI tool.
- See where CI/CD workflows slow down - queues, flaky tests, approval bottlenecks - and use unified analytics to fix the root causes.
- Standardize delivery requirements with reusable workflows and consistent security and quality policies applied across repos, teams, and CI tools.
- Reduce manual toil and release risk by orchestrating approvals, evidence, and deployments from a single control plane.
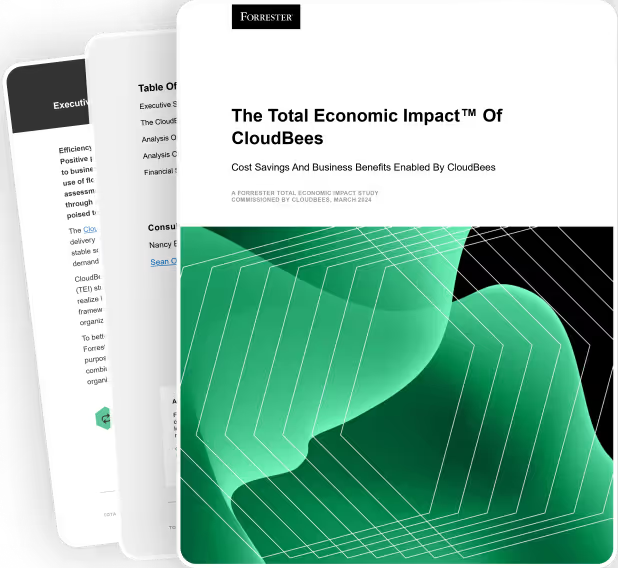
Read the Forrester TEI report
Discover how companies with large developer teams achieved $38M in revenue and a 426% ROI over 3 years.

Scale CI/CD workflows with AI-assisted standardization
Create consistent pipelines across teams with reusable workflow building
blocks and automated policy enforcement.
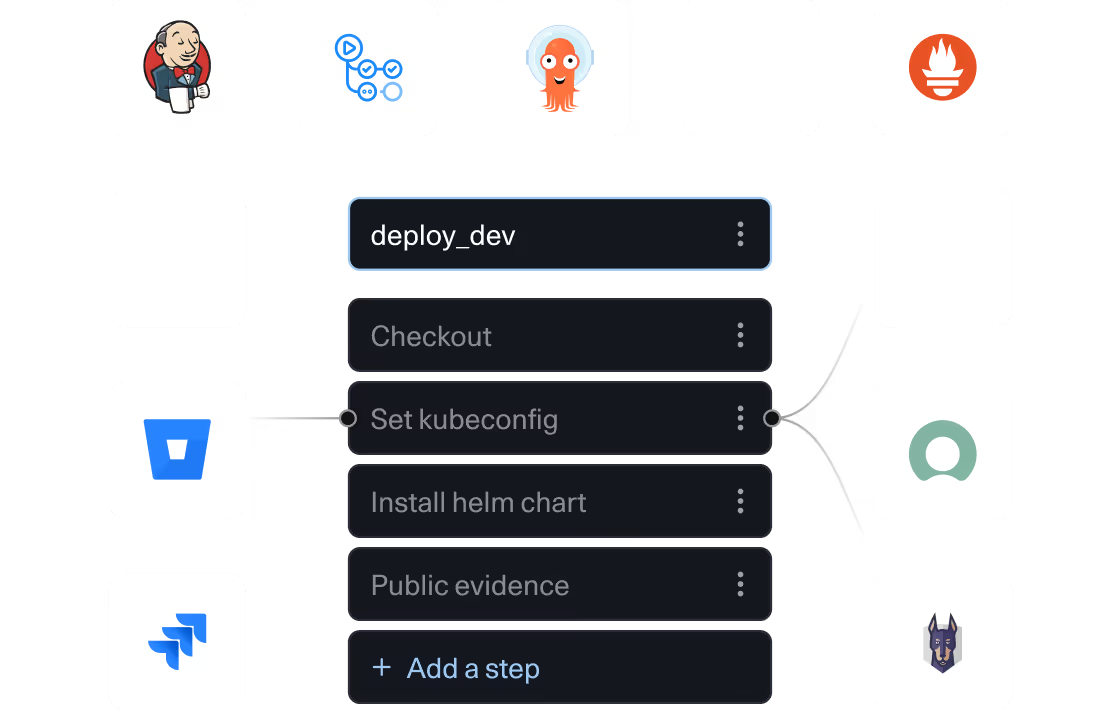
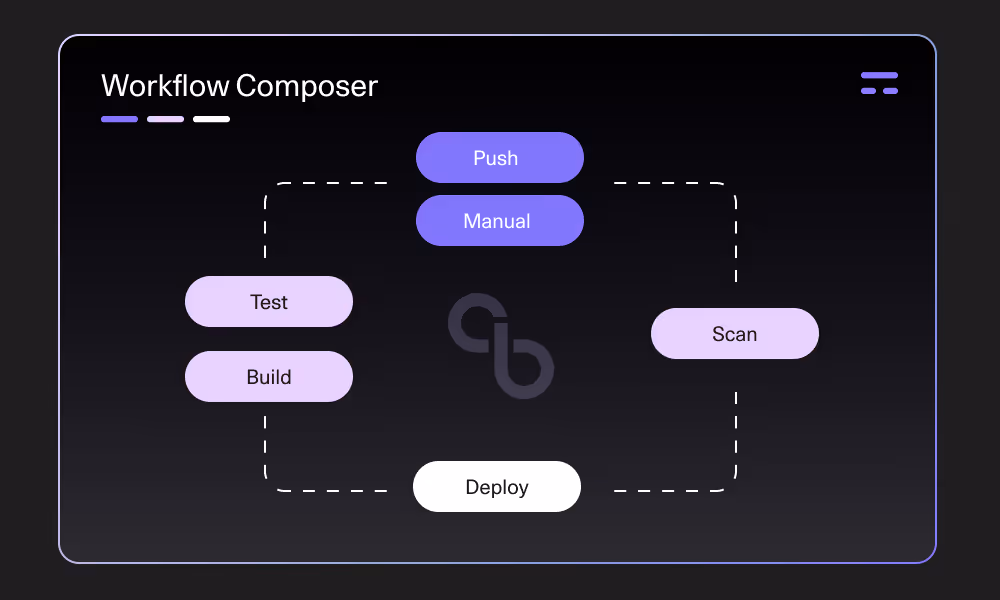
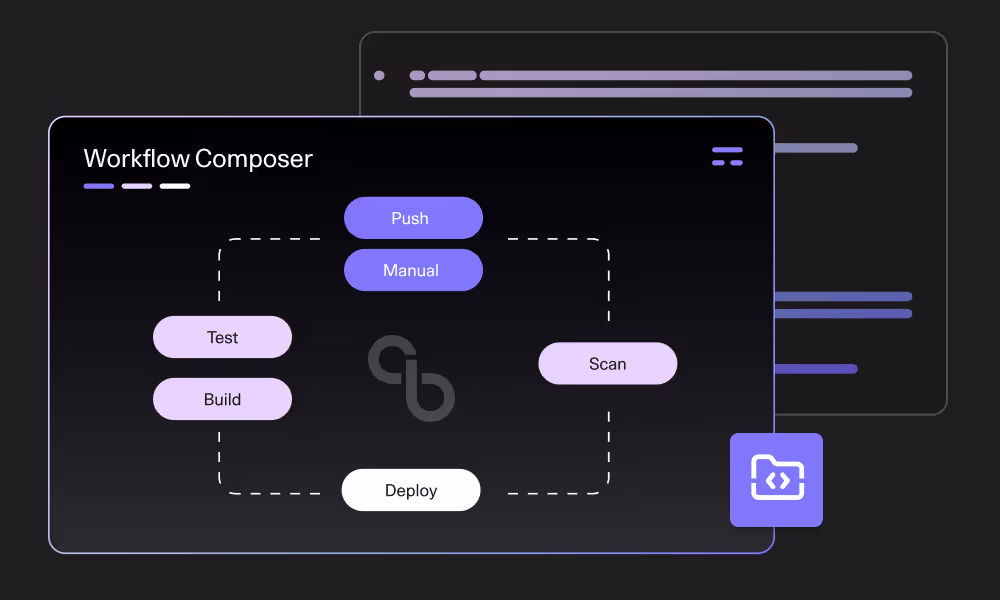
Visually orchestrate workflows in any environment
Automate delivery workflows to cut cycle time and toil (title) CloudBees automates build, test, security scanning, policy checks, and deployments, coordinating these steps across pipelines so teams spend less time wiring tools together and more time shipping reliable releases.

Focus your developers on coding
CloudBees MCP lets AI agents (Amazon Q, Google Gemini, Goose by Block, and others) connect directly to real DevOps context, enabling them to handle repetitive, time-intensive work like vulnerability triage, compliance evidence checks, and orchestrating CI/CD workflows - all within enterprise guardrails and approvals.
Re-use workflows for development consistency
Define golden paths once - shared build, test, and release components that every team can re-use. This ensures each pipeline meets the same security, quality, and governance standards, without teams reinventing the wheel.
Unlock efficiency and innovation with CI/CD for enterprises
Automate development processes reducing time and cost
CloudBees automates code builds, testing, continuous security scanning and compliance, and deployments.
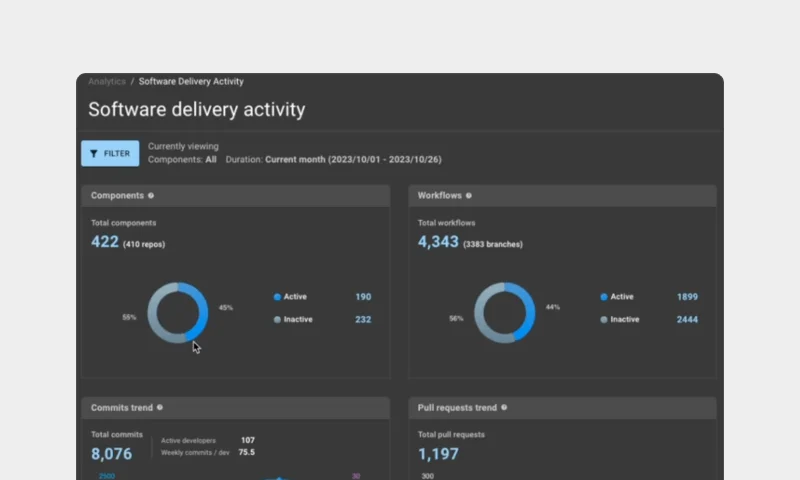
Monitor applications for optimal performance
CloudBees provides real-time metrics (security vulnerabilities, delivery activity, DORA, etc.) to identify bottlenecks and improve pipeline efficiency.
Deploy applications faster with confidence
Developers can run builds and deploy code independently, all while staying within secure, governed policies set by platform teams to speed up.
Reduce human errors by automating tests before deployment
Automated testing and validation gates catch issues before code reaches production, minimizing costly production issues, unplanned downtime, and expensive fixes.
Roll back with confidence, not guesswork
CloudBees tracks every artifact, deployment, and approval in one place, allowing teams to quickly orchestrate rollbacks to previous versions without scrambling across tools.
Automatically apply security updates without manual intervention
CloudBees offers an enterprise-grade CI/CD solution with secure plugin management, proactive vulnerability monitoring and triage.
CloudBees CI/CD: Your foundation for unified DevOps
Let developers keep using their preferred tools while you maintain consistent security, governance, and compliance across the entire software development lifecycle.
Faster innovation
0 sec
Wait time for feedback loops
Lower costs
5-10x
More deployments
Accelerated builds
15min
To your first deployment
Trusted by enterprises, loved by developers
Salesforce migrates DevOps to the cloud with CloudBees CI
Salesforce moved software development to CloudBees CI on Amazon EKS, improving productivity, security, and supporting the continuous delivery of innovative solutions on the Salesforce platform.

Autodesk builds better software faster with CloudBees
Standardize on CloudBees CI, making secure, automated CI/CD pipelines available to a development organization of 4,000 engineers

Acquia partners with CloudBees to simplify and scale DevOps
Acquia, partnered with CloudBees to unify over 16 siloed Jenkins instances into a single, secure CI/CD solution, enhancing operational efficiency of digital experiences.

American Express CBT gains competitive advantage with CI/CD
American Express Global Business Travel won the 2019 CloudBees Innovation Award for CI/CD Automation Excellence based on its DevOps transformation.
Talk to a CloudBees Unify expert
Unlock the potential of accelerated software delivery and optimized workflows with our unified control plane for enterprise software delivery.