


Continuous integration (CI) and continuous delivery/deployment (CD) are cornerstones of modern software development. The most basic step in implementing a CI/CD pipeline is having a build server that builds—and, hopefully, tests—the code after each submission of new code by developers. An essential component of this setup is alerting everyone when build problems occur, and that’s why this post will cover Jenkins/Slack integration.
Jenkins is a popular open source automation server, while Slack is a communication tool used by many teams and organizations. By integrating the two, you’ll ensure developers will be notified when build or test failures occur so they can fix them ASAP.
Let’s see how to do that in practice. If you'd like to follow along with a video, you can also watch CloudBees Developer Advocate Darin Pope walk through a similar tutorial below.
Requirements
For this tutorial, you’ll need:
- A Jenkins installation
- A Slack account to which you have administrative privileges
Time to Work
With the requirements out of the way, let’s get started with the tutorial.
When it comes to a Jenkins/Slack integration, it’s possible to roll out your own. This might make sense in some scenarios, but the easiest solution by far is to use the existing Slack plugin for Jenkins. That’s where we’re going to start.
Installing the Slack Plugin on Jenkins Side
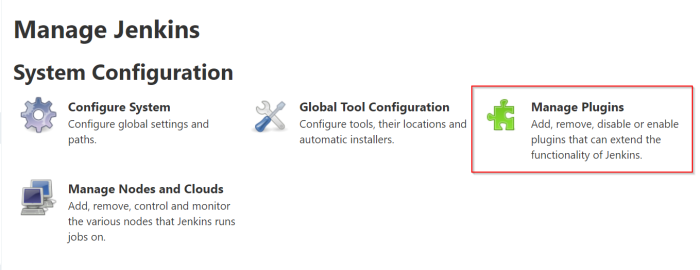
With your Jenkins installation running, go to its Dashboard. On the left-side menu, click on Manage Jenkins:

You’ll be taken to a new page. There, click on Manage Plugins:
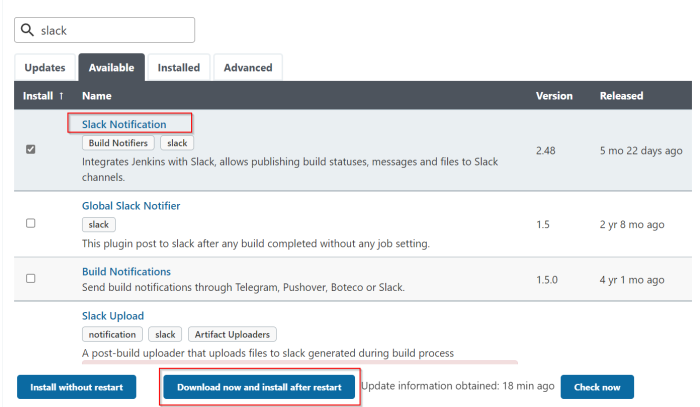
After that, you’ll see the Plugin Manager page. On that page, do four things:
- Click on the Available tab.
- Enter “slack” into the search field.
- Select the “Slack Notification” plugin in the filtered results.
- Finally, click on the Download now and install after restart button.
After that, you’ll see something like this:

As you can see, the Slack Notification plugin was successfully downloaded. To activate it, click on the Restart Jenkins … option at the bottom of the screen. Jenkins will restart and the plugin installation will be complete.
Creating an Application on Slack
The next step is on the Slack side: You should create a new application. As I’ve said earlier, for this step you’ll need a Slack workspace to which you have administrative rights. If that’s not the case, create a workspace so you can continue following along with the tutorial.
Start by going to api.slack.com. There, click on the Create an app button.
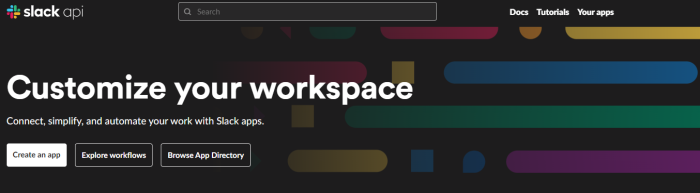
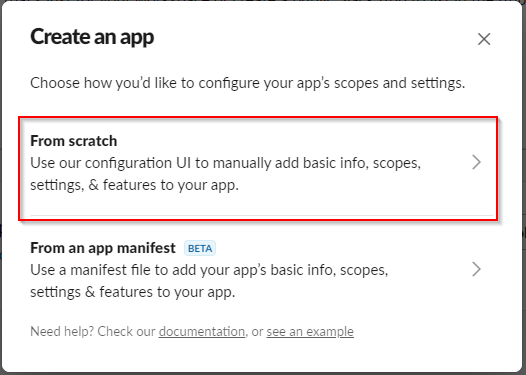
After that, you’ll need to choose between creating an app from scratch or using a preexisting manifest. Pick From scratch:
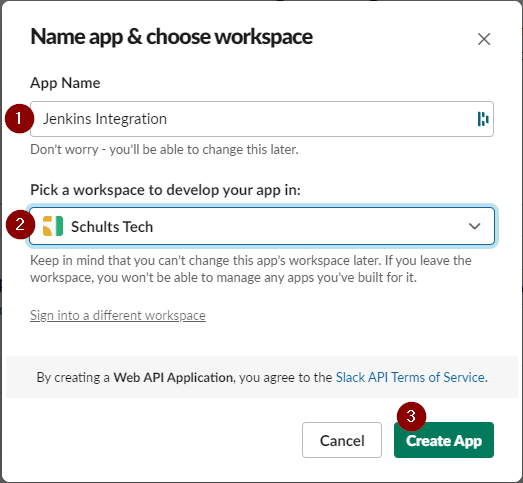
On the next screen, you’ll do three things:
- Choose a name for your app; it’s not that important and you can change it later.
- Select the workspace for which you’re creating the app.
- Click on the Create App button.
Configuring Your Slack App Permissions
Congratulations! You’ve just created your first Slack app—but you aren’t ready yet. You still need to do some configuration before you’re able to start sending notifications.
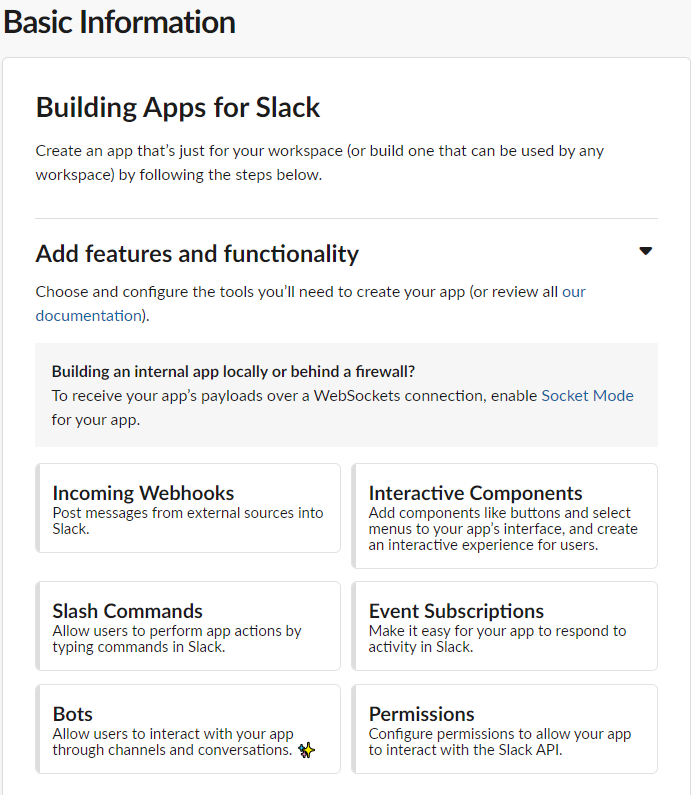
First of all, let’s configure the necessary permissions. After the last step from the previous section, you were redirected to the Basic Information page. On that page, click on the Permissions button:
On the new page, scroll down to Scopes:
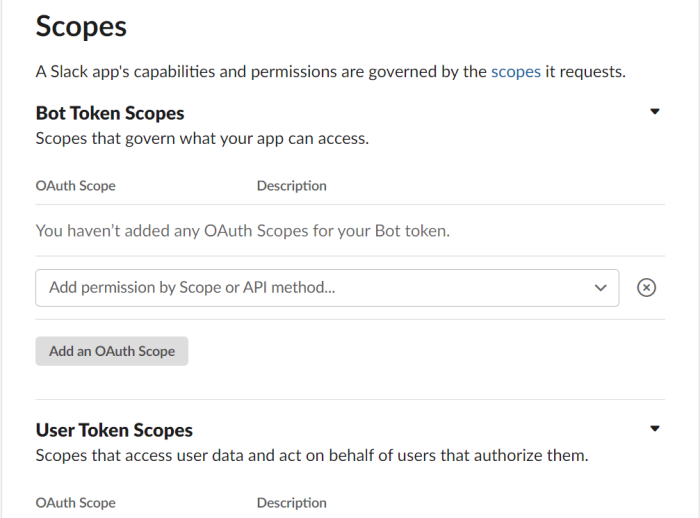
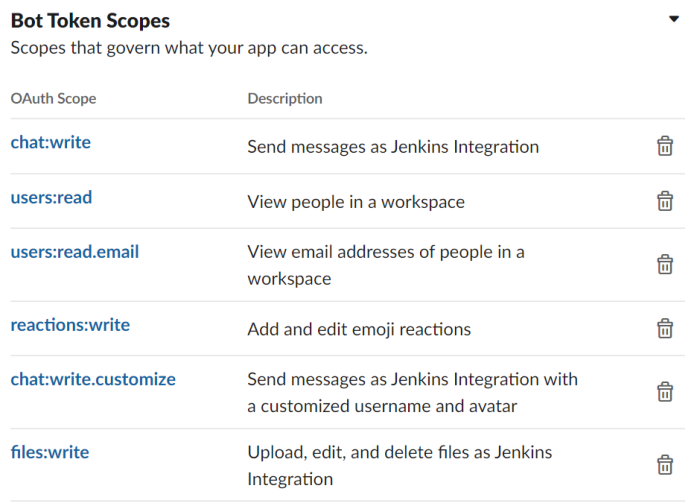
Put simply, scopes are the actions that a given Slack app can perform. You’ll be able to add the scopes needed under Bot Token Scopes. Click on the text field under Bot Token Scopes and start typing. Autocompletion will kick in, and you’ll be able to select the scopes.
Here’s the complete list of scopes you’ll need to add:
- chat:write
- chat:write.customize
- files:write
- reactions:write
- users:read
- users:read.email
The screen should look something like this with the scopes added:
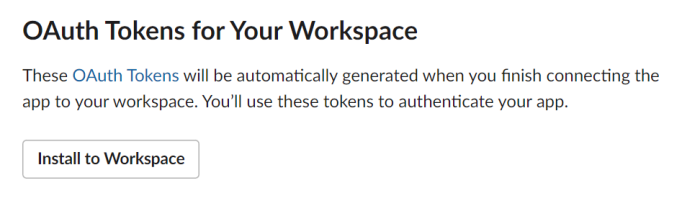
Now, scroll up until you see the OAuth Tokens for Your Workspace section. Then, click on the Install to Workspace button:
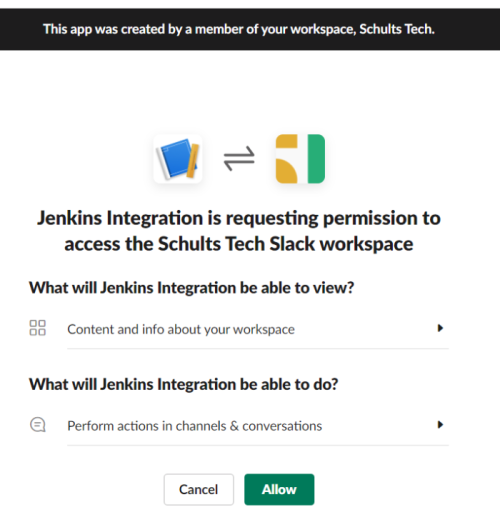
You’ll be prompted with a permission request for the new app. Click on Allow:
If everything went right, you’ll see a brief success message at the top of the page. Go back to the OAuth Tokens for Your Workspace section and you’ll see a token that was generated for you:
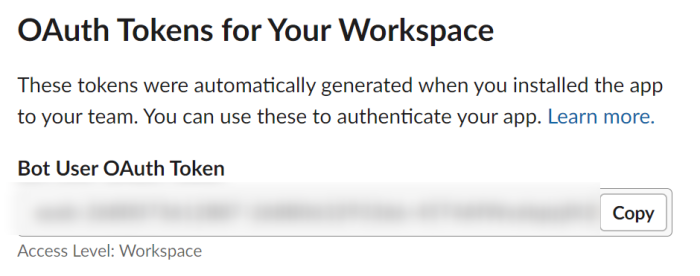
Click on the Copy button to copy the token to your clipboard, and write it down somewhere safe. You’re going to need it soon.
Before we continue, let’s review what you’ve done so far:
- You started by installing the Slack plugin on Jenkins.
- You created a new Slack app.
- Then you added the necessary scopes to your app.
- Finally, you added the app to your workspace and wrote down the generated OAuth token.
Adding the Application to One or More Channels
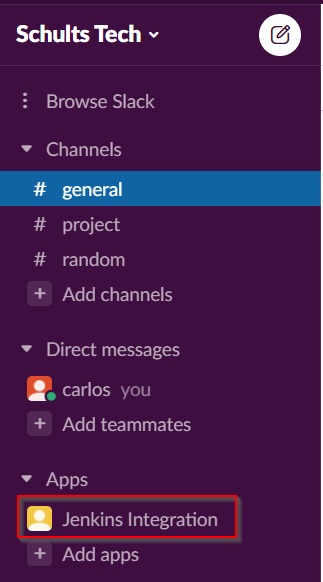
Are we there yet? Almost, but not quite. If you go over to your Slack workspace, you should see the app you’ve just created under Apps on the left-side menu:
But you can’t use this setup to send notifications just yet. There are a couple of things left to do.
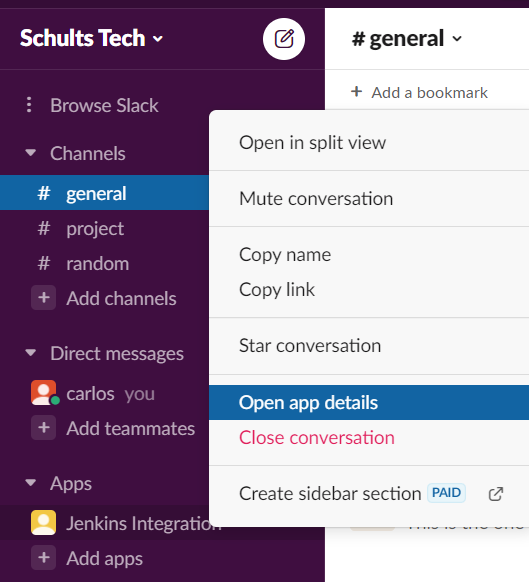
First, let’s add the app to a channel. Right-click the app and, on the context menu that appears, click on Open app details:
A new window will appear. Click on Add this app to a channel and then select the channel to which you want to add the app:
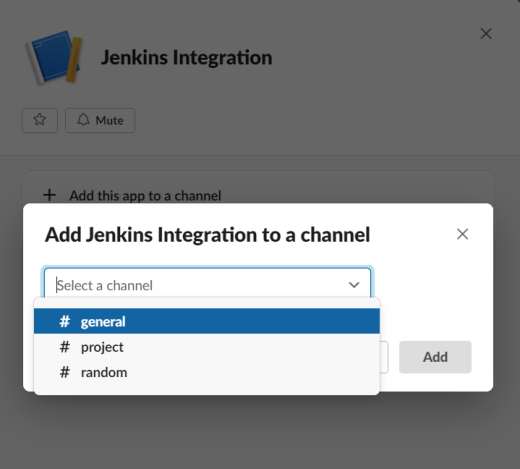
Finally, click on the Add button. If you want, repeat the process to add the app to more channels.
The Missing Link: Creating and Configuring a Credential
If you’ve been following along with this tutorial, by this point you have two completely disconnected setups:
- The Slack notification plugin on Jenkins
- The app you’ve created on Slack and added to your workspace
These two things currently don’t have anything to do with each other. It’s time to fix that.
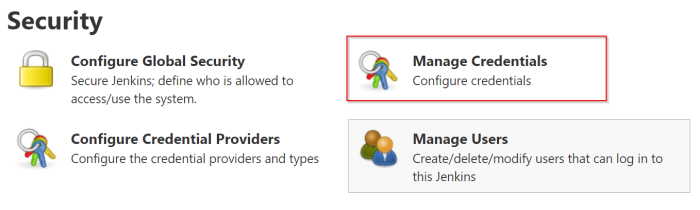
First, let’s add new credentials on Jenkins. Go back to Jenkins Dashboard, then click on Manage Jenkins. Under Security, click on Manage Credentials:
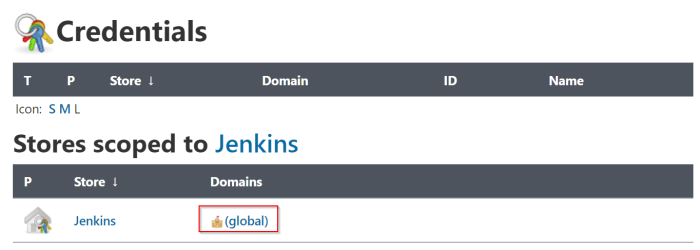
You’ll be taken to a new page. There, under Stores scoped to Jenkins, click on (global) in the Domains column:
Jenkins will redirect you to yet another page. There, click on Add Credentials:
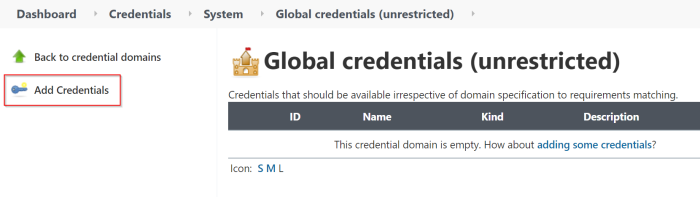
You’ll then see the form allowing you to add a new credential:
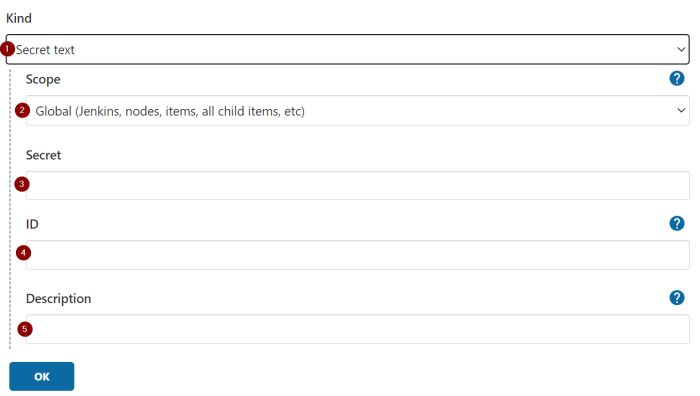
Here’s how you should fill it:
- Select Secret text as the kind.
- Pick Global as the scope.
- Paste the OAuth token from before here.
- The ID can be whatever you want.
- The description can also be whatever you want.
After you’re done, hit OK.
You’ve just added new credentials. Now you need to configure them.
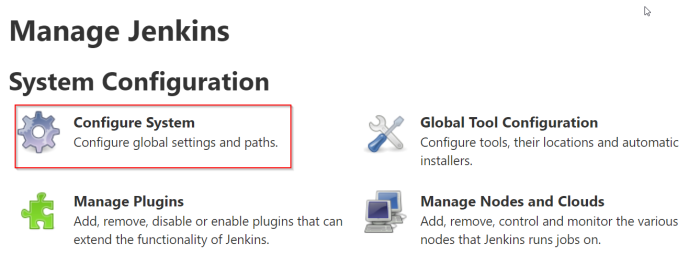
Go back to Jenkins Dashboard. Click on Configure Jenkins. On the new page, click on Configure System:
On the new page, scroll until you see the area dedicated to Slack. Configure it as follows:
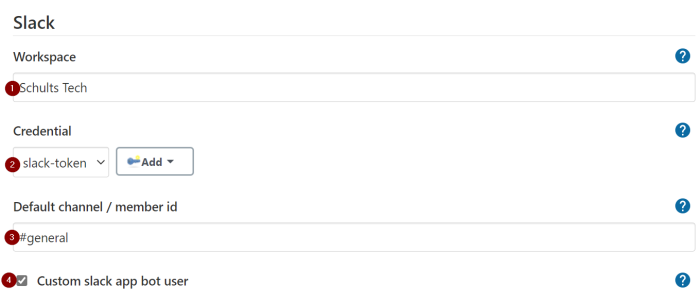
- Enter the name of your workspace.
- Choose the credential you just added in the previous step.
- Pick a default channel, making sure to include the number sign.
- Make sure to select the “Custom slack app bot user” option.
When you’re done, click on the Save button. If you now go back to your workspace on Slack, you should see something like this:
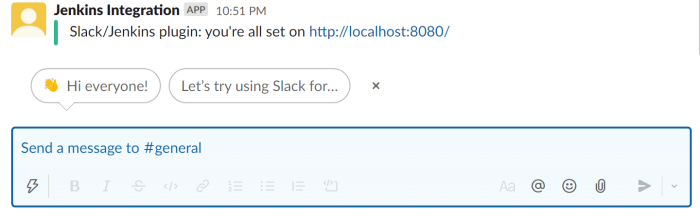
This is proof the integration works.
Sending Your First Notifications
With everything in place, let’s test our setup.
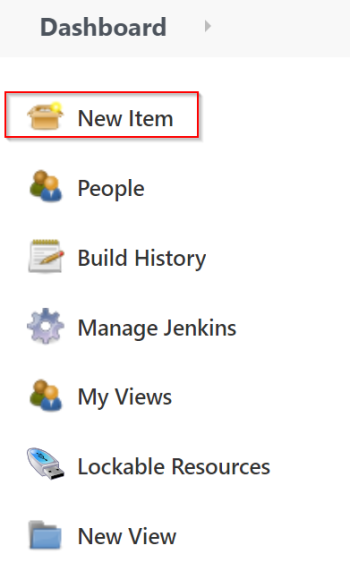
Go back to Jenkins Dashboard and click on New Item:
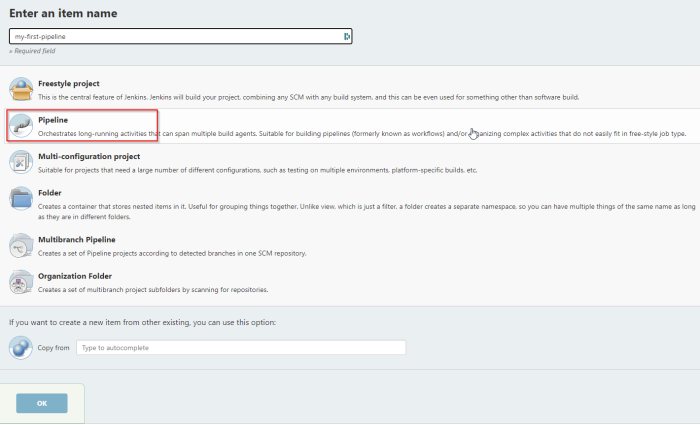
You’ll see the New Item page. Give a name to your item, pick Pipeline as the item type, and click on OK:
You’ll be taken to yet another page, where you’ll have the opportunity to configure your item. On this new page, go to the Pipeline tab and, in the Script field, paste the following excerpt:
LANG:code
pipeline {
  agent any
  stages {
    stage('slack notification') {
      steps {
        slackSend color: 'good', message: 'success message'
      }
    }
  }
}
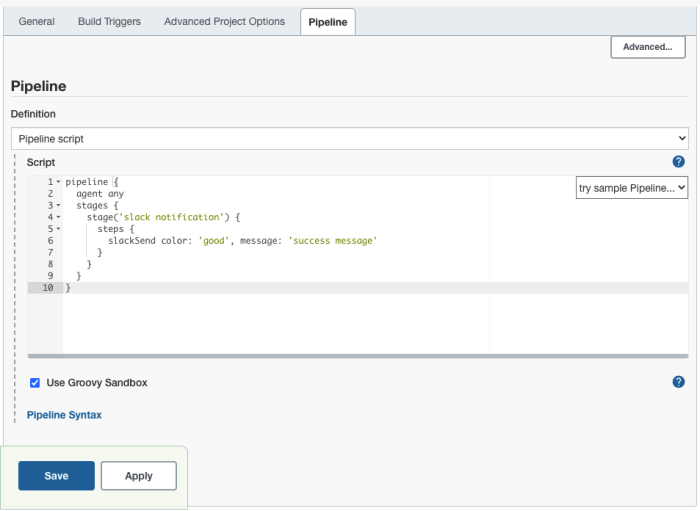
We’re almost there. Click on the Save button. Then, on the new screen you’re redirected to, click on Build Now:
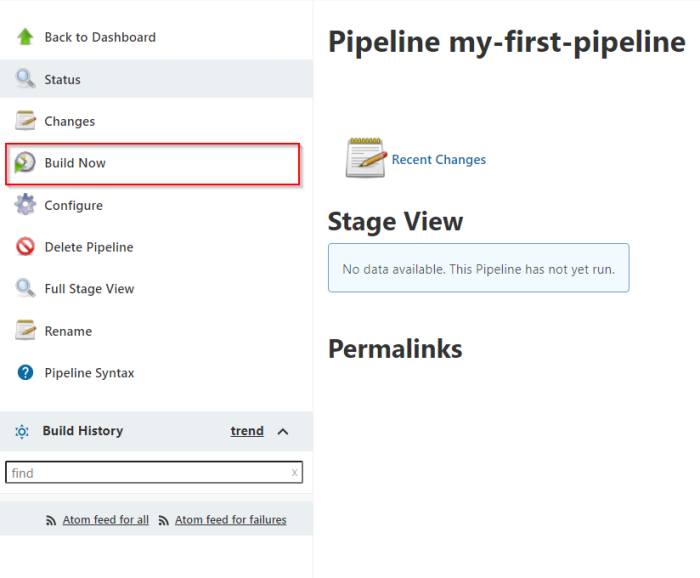
After a few seconds, you should see a message showing the job was completed successfully. Then go back to Slack, head to the #general channel, and you’ll see the notification there:
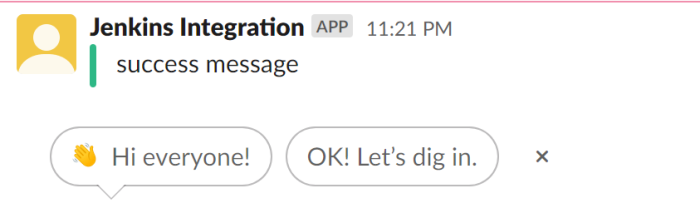
That’s it: You’ve successfully integrated Jenkins with Slack!
Conclusion
For many teams and organizations, Slack has successfully replaced email as the default means of communication. As a consequence, people are less likely to see build failure notifications if you only alert them via email.
That’s why integrating your CI tool to Slack is so crucial. Doing so increases the likelihood of engineers actually seeing the notifications, which can dramatically improve incident response metrics inside your organization.
In this post, you’ve seen how easy it is to integrate with Jenkins by leveraging the existing Slack plugin. The setup you created today is a very basic one, but it’s a starting point you can use to build upon.
This post was written by Carlos Schults. Carlos is a consultant and software engineer with experience in desktop, web, and mobile development. Though his primary language is C#, he has experience with a number of languages and platforms. His main interests include automated testing, version control, and code quality.


