

This is Part Three of a four-part developer series from Evan Glazer.
Series Abstract
Finishing the application build processes is normally very dilatory to many organizations. Especially in mobile platforms that need to use very specific criteria. In this developer series, building an application in React Native won’t be our primary goal; building processes that give us the ability to build, utilize CI/CD mechanisms through a pipeline and deploy (CD) to different environment types for testing and publishing to the app stores in React Native will be the main theme. In this part, we will focus on getting our Jenkins server setup on a mac mini remote server, creating the Jenkins pipeline stages, using Fastlane more efficiently to be able to build our application remotely and publish to the app stores for iOS and Android.
Let’s begin
Now that we can publish on our local computers using Fastlane, we need to repeat the process on our new remote server from part one and part two. I recommend using macincloud to remotely set up the pipeline for iOS and Android environments. It is fairly easy to set up using RDS or VNC services. Once your server is provisioned and you have access to your dedicated mac mini, you will need to start by installing XCode. Then you will need to download the command line tools for xcode, homebrew, java 8. You can also install Android Studio if you want to do further tests. Now we need to sign the xcode agreement to build the application and enable developer mode to debug with xcode ide.
LANG:code
# Install Xcode CLI tools
Next, you will navigate over to Jenkins and follow the installation through homebrew.
Sample commands (as of 12/28/19):
- Install the latest LTS version: brew install jenkins-lts
- Install a specific LTS version: brew install jenkins-lts@YOUR_VERSION
- Start the Jenkins service: brew services start jenkins-lts
- Restart the Jenkins service: brew services restart jenkins-lts
- Update the Jenkins version: brew upgrade jenkins-lts
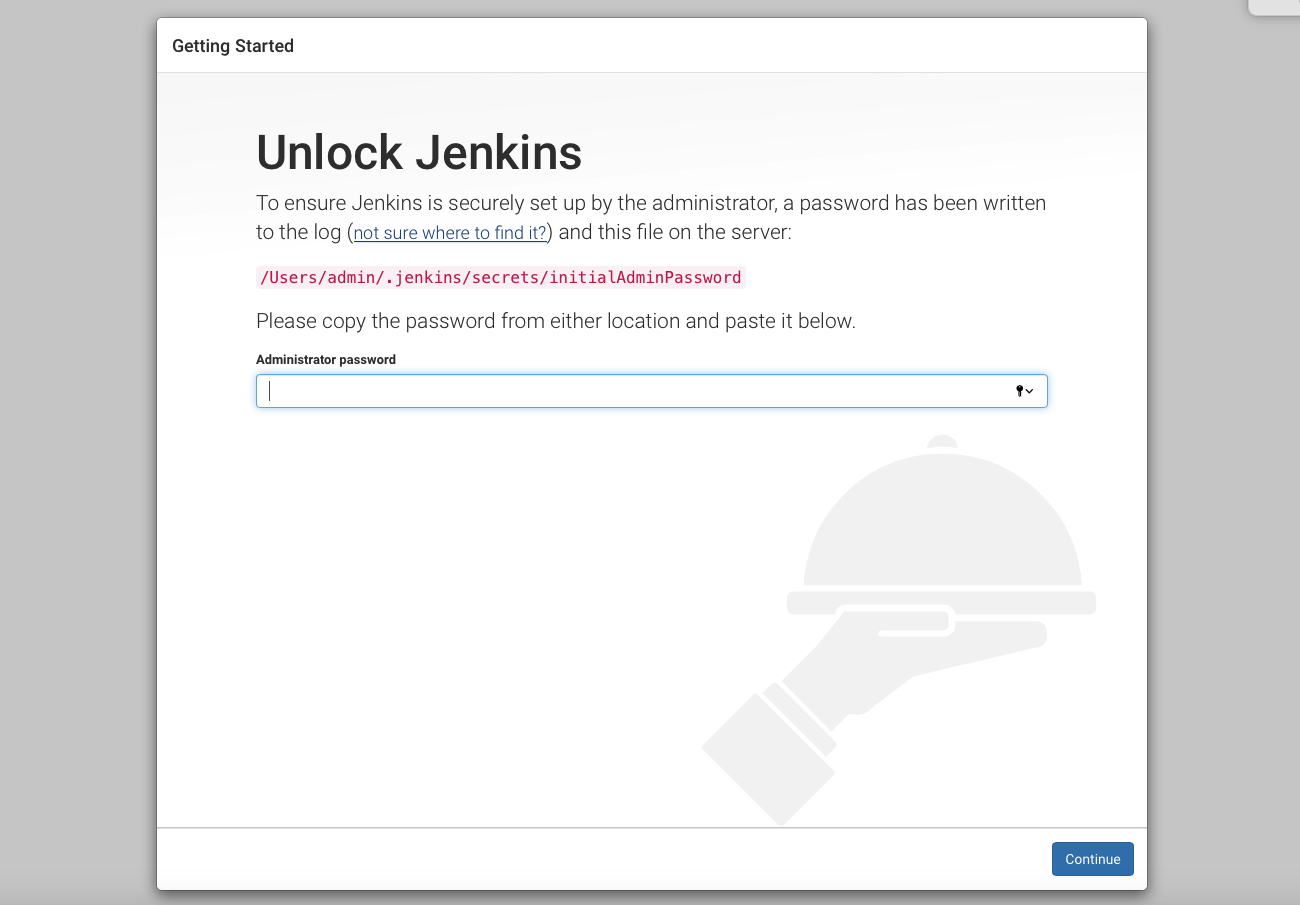
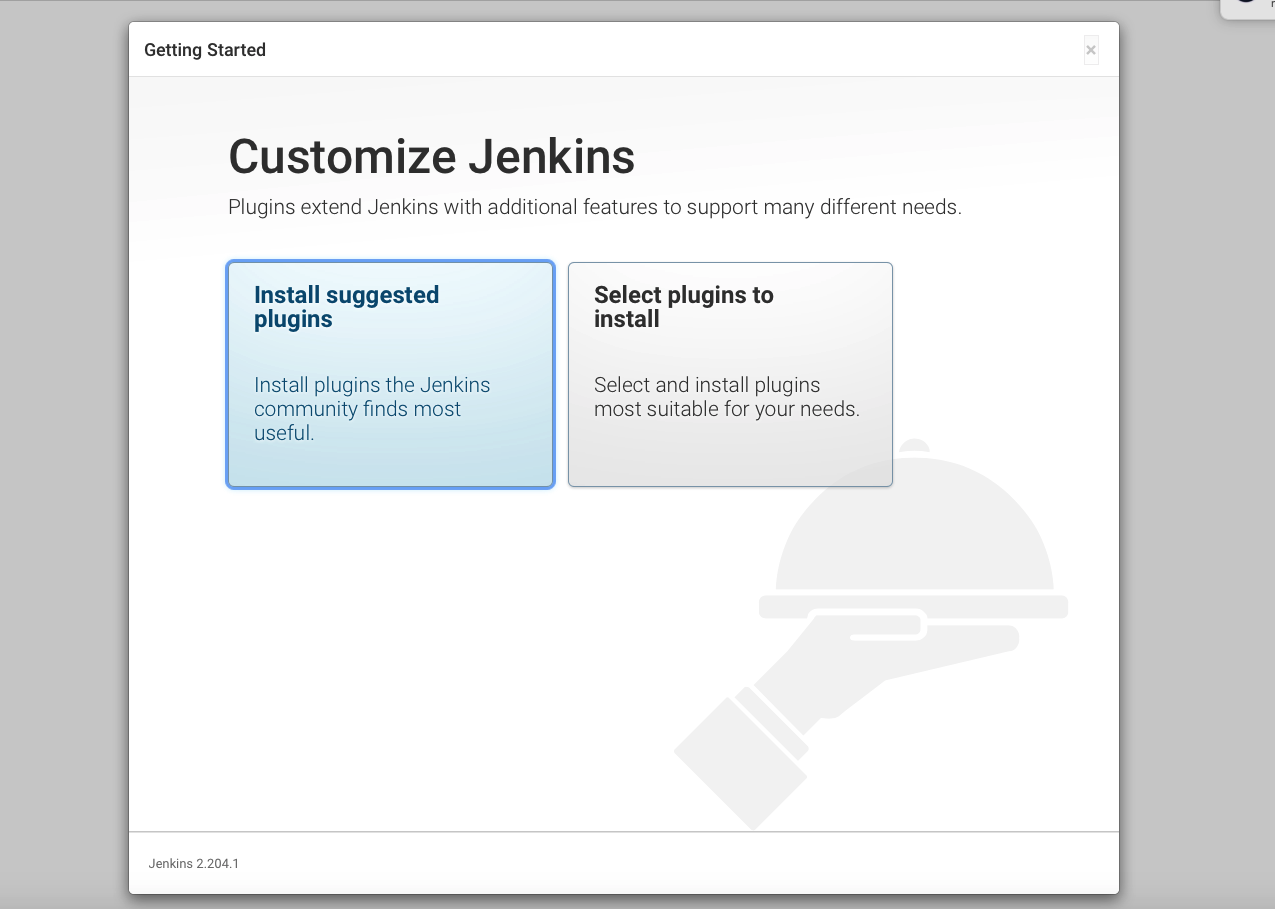
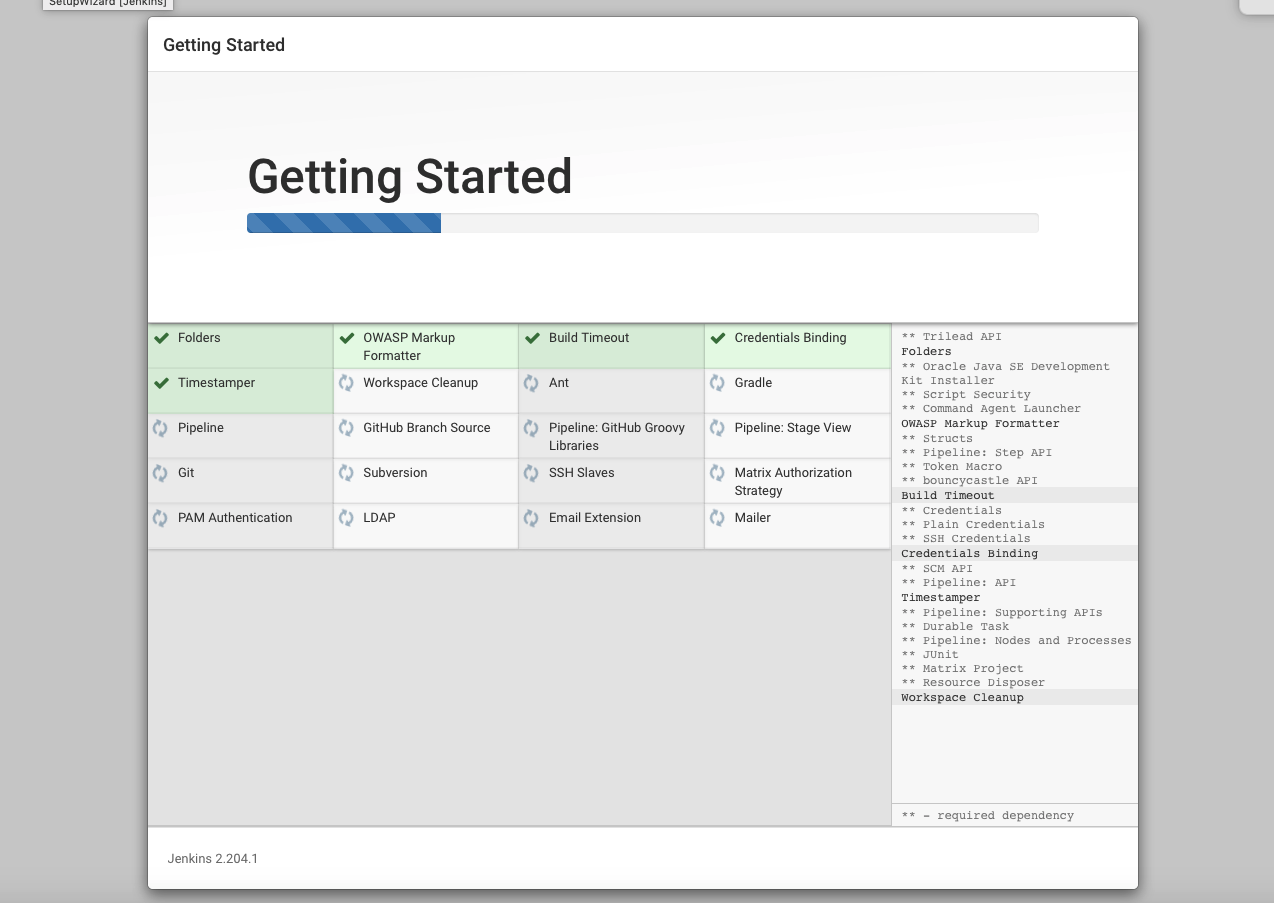
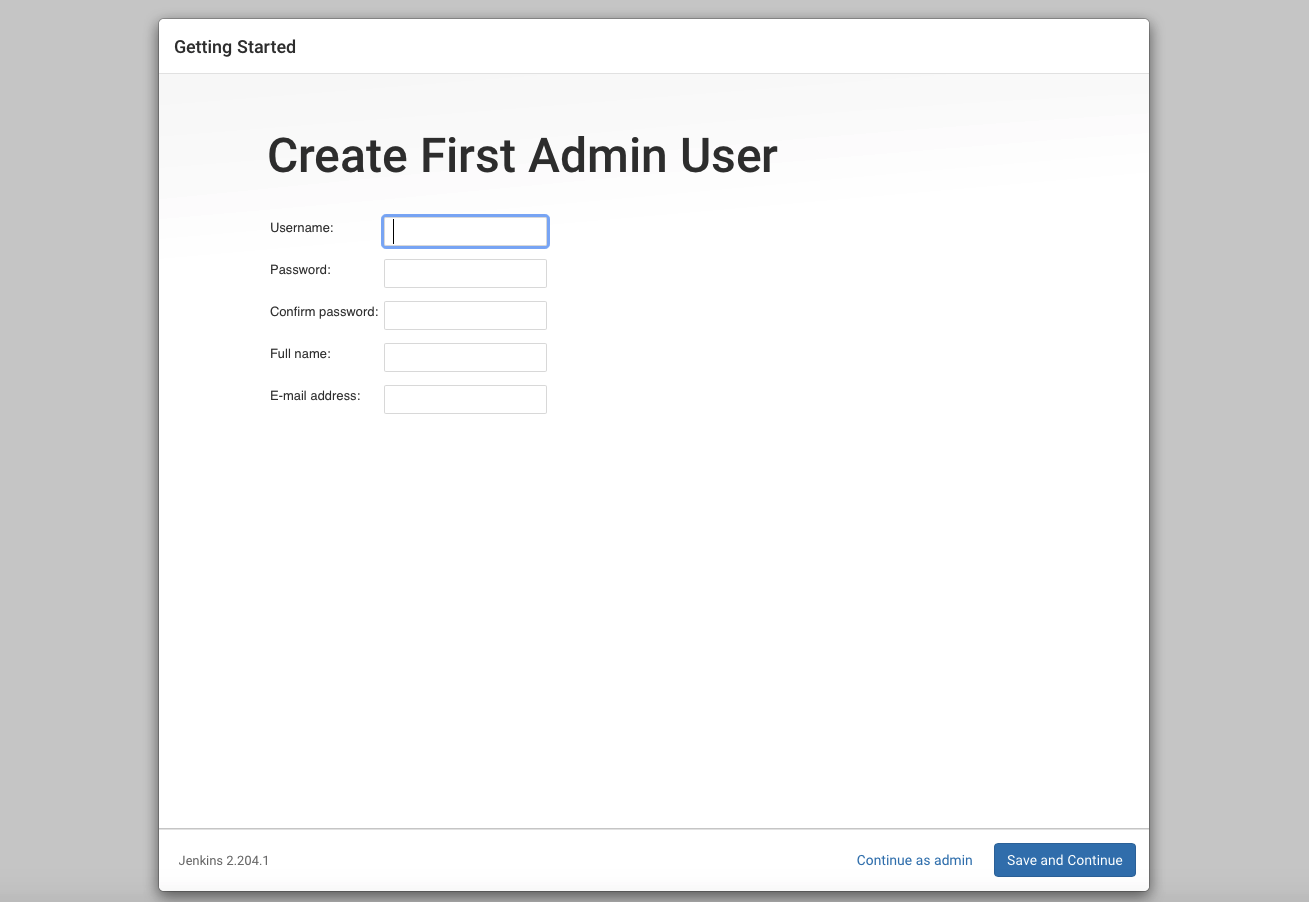
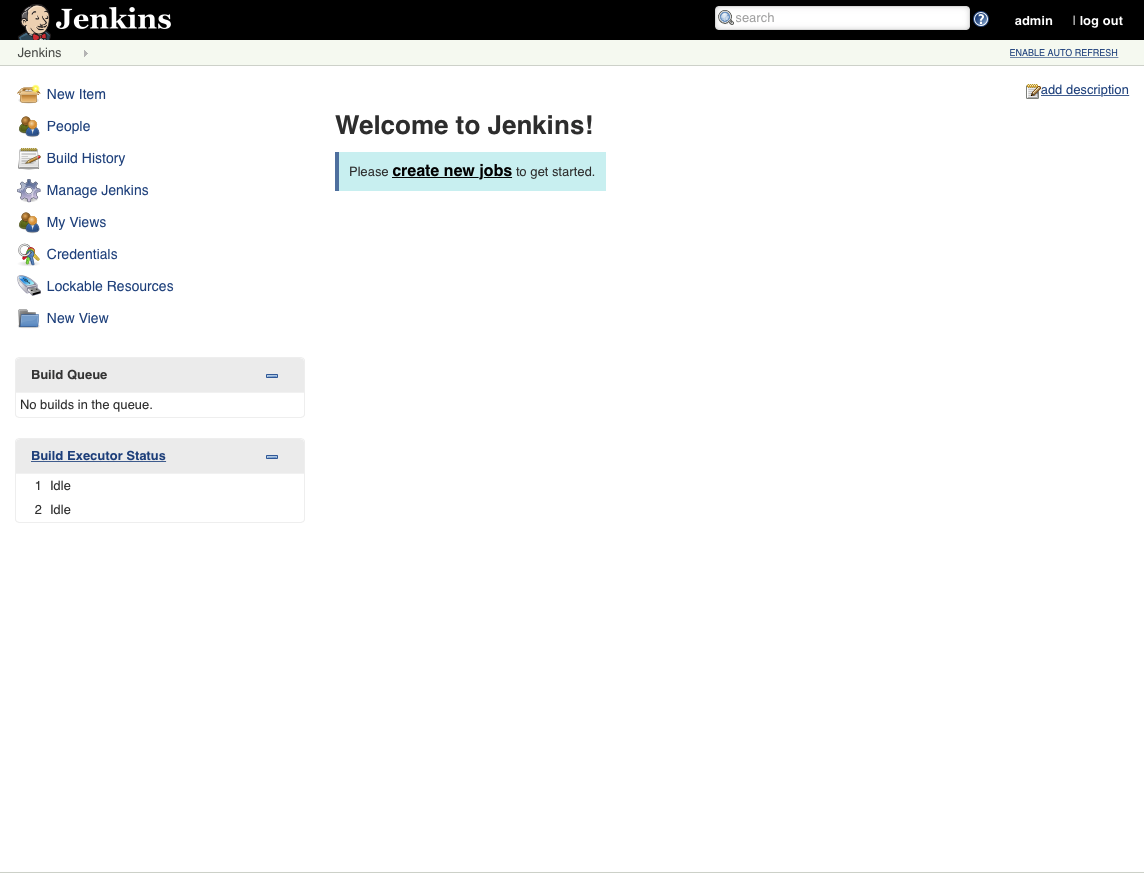
Once we have installed Jenkins on our server, it is time to go through the setup process:
Now, let’s rework our Fastlane lanes
We will be modifying our iOS/android Fastlane file to increment the build number before we build and bundle the app. Also the lanes all upload to testflight and identify differently by the scheme of certificates/environment variables. Since all uploads require the extra step to go into Apple Connect, we can just promote the testflight production schema to the app store for review. For iOS:
LANG:code
default_platform(:ios)
Per Android:
LANG:code
default_platform(:android)
Now we could run the Fastlane commands for both iOS and Android: fastlane beta or fastlane release to increment our builds, choose the correct schema to build based on the stage type and deploy to the app store.
How do we imagine the pipeline?
The pipeline we will be working on is divided into three stages:
LANG:yaml
Checkout: clone the GitHub repository.
Adding additional stages to the pipeline for quality and unit tests can easily be added by adding additional gems to our Fastlane plugin, which will be covered more in part four.
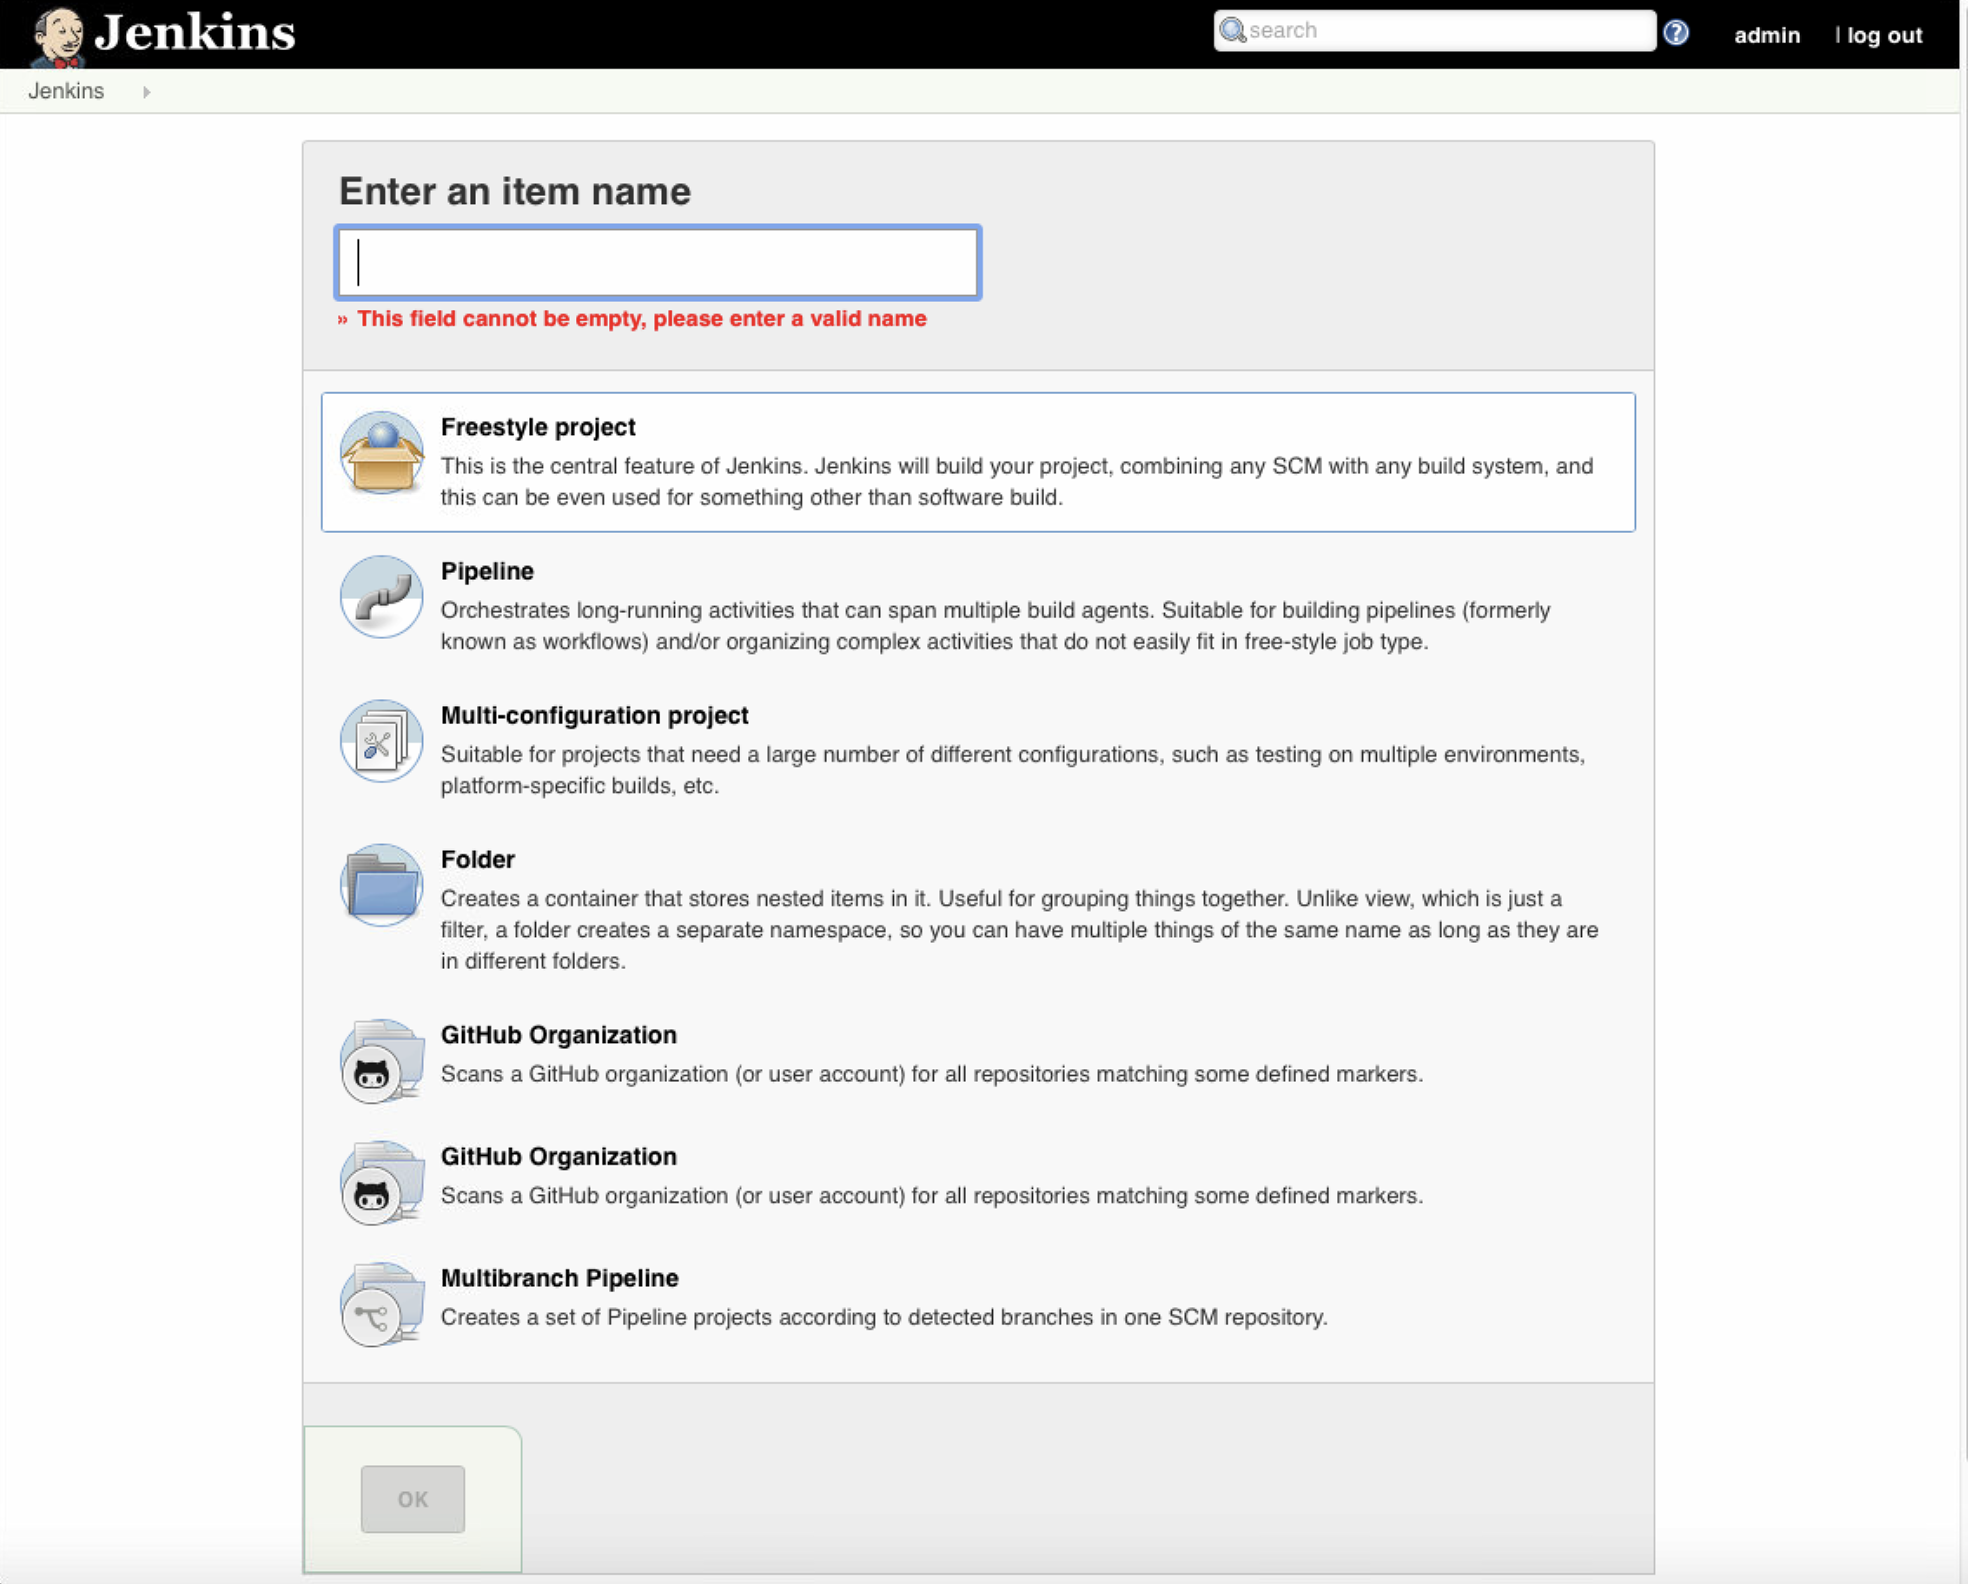
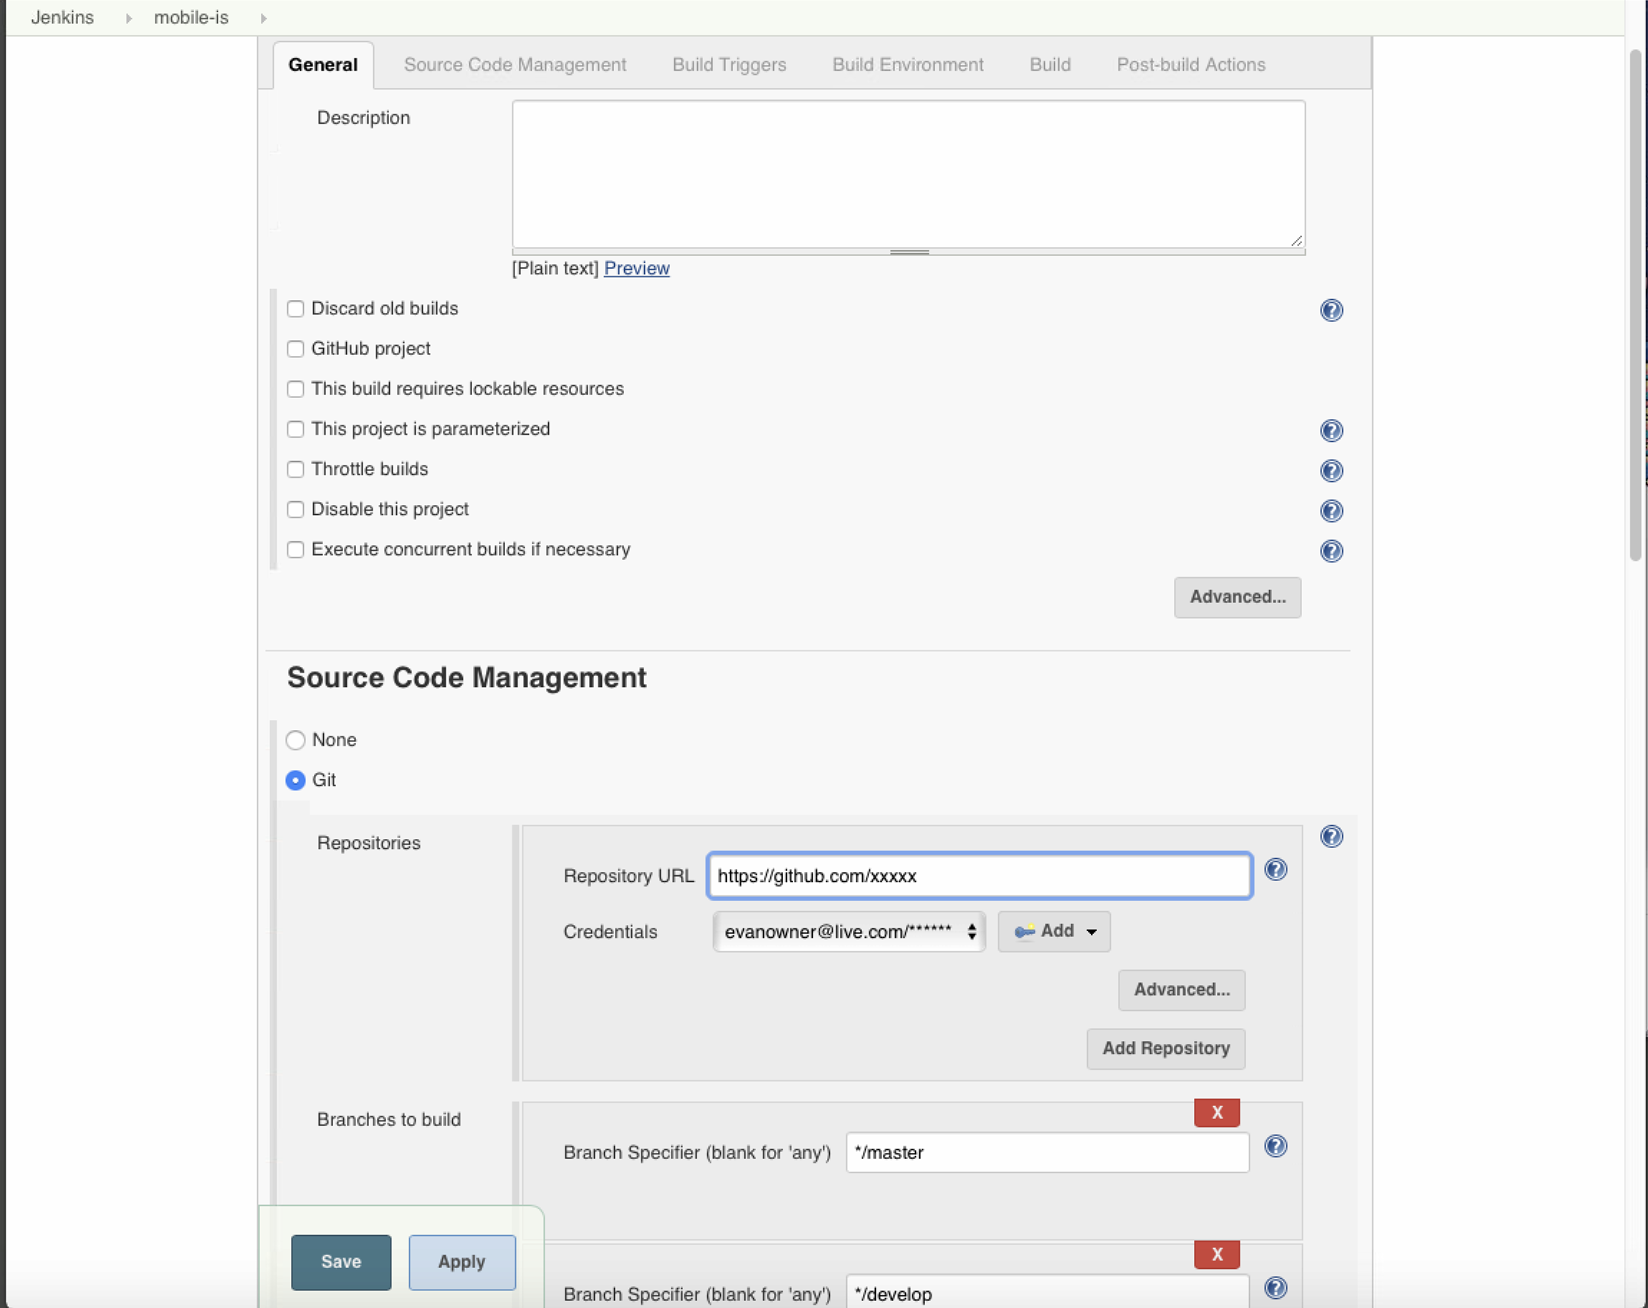
Let's configure our first Jenkins task!
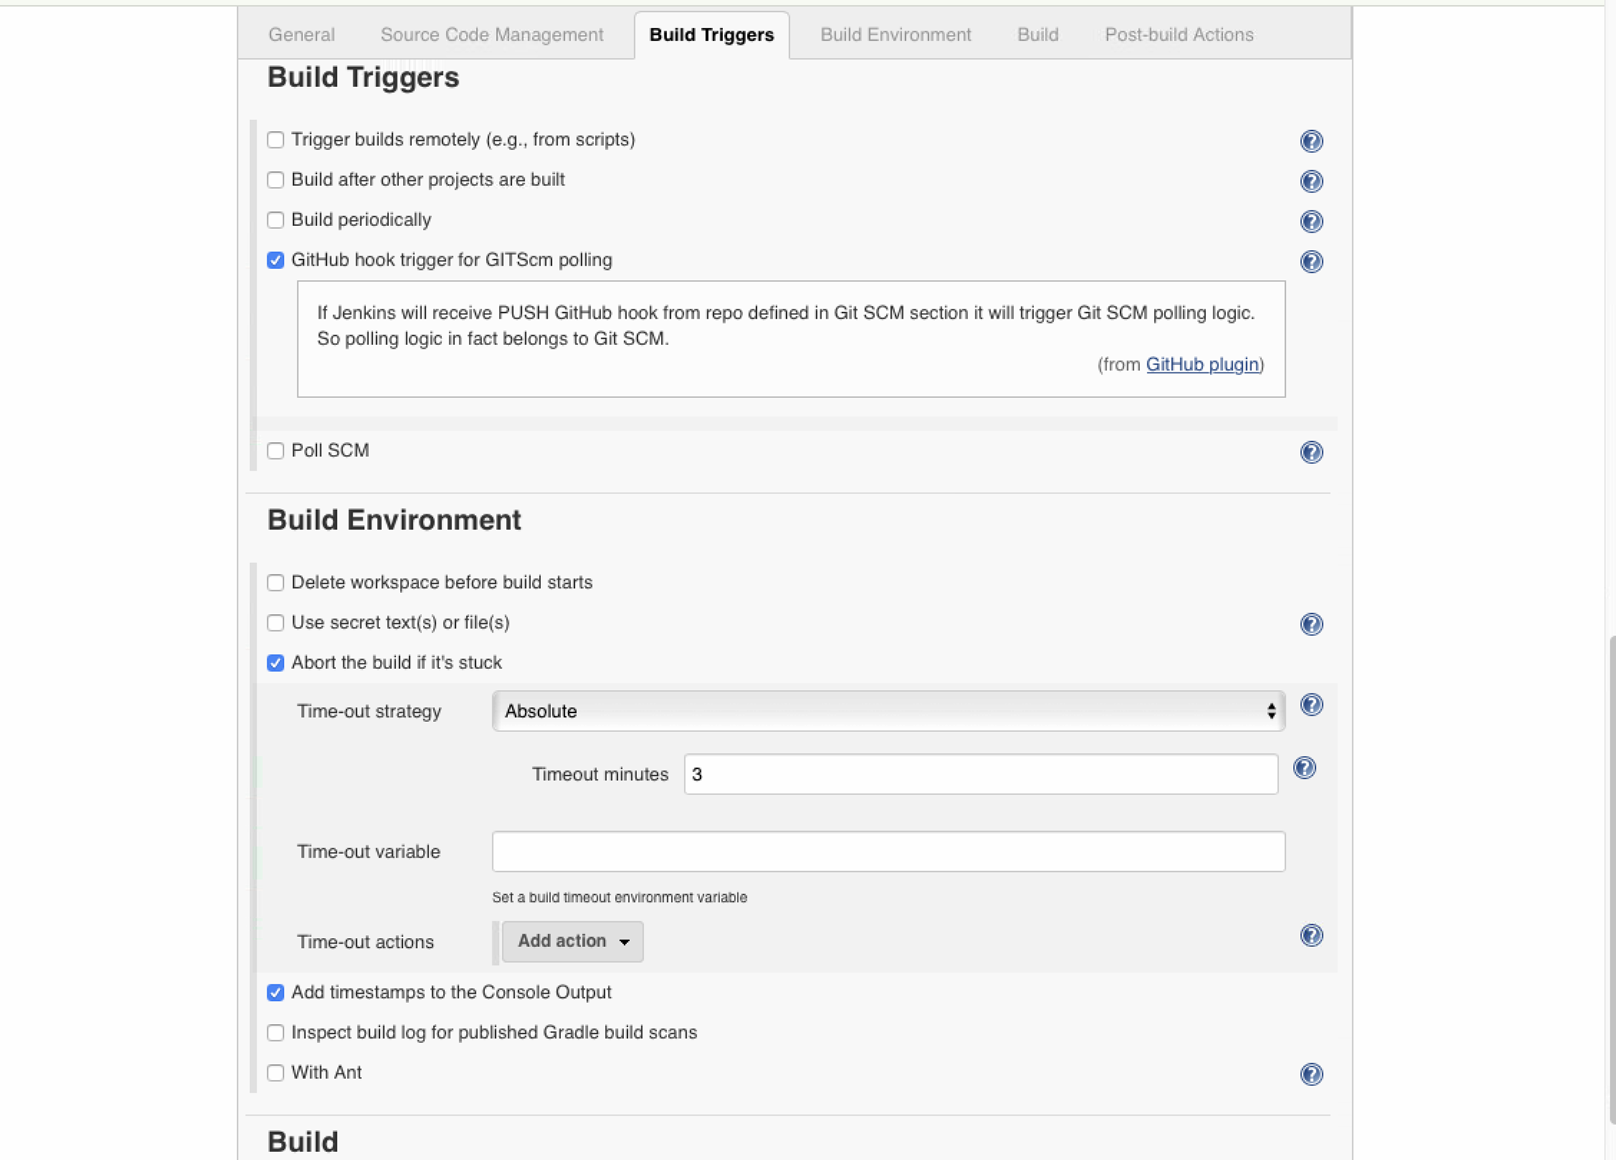
We will need to set up our repository to trigger when branches controller or develop have been updated with commits. Let’s create our first-two items (mobile-ios and mobile-android) as a Freestyle project and fill this out accordingly like below to that it triggers using Github hook polling.
Jenkinsfile
Creating a Jenkinsfile, which is checked into source control, provides a number of immediate benefits:
- Code review/iteration on the Pipeline
- Audit trail for the Pipeline
- Single source of truth for the Pipeline, which can be viewed and edited by multiple members of the project.
Jenkins Node and Agent Management
Configure agent protocol
- Make sure the Jenkins controller is set up to manage agents via Java Web Start.
- Open your controller, click Jenkins (small drop-down arrow next to text)-> Manage Jenkins -> Configure 3. global security
- Choose a fixed port for JNLP agents. Ensure your controller and agent can connect on that port through any firewalls.
- Check Java Web Start Agent Protocol / 4
- Click save
Add agent node to Jenkins controller
We will now create nodes ios and android to build properly when our Jenkinsfile specifies the pipeline.
- Open your controller, click Jenkins (small drop-down arrow next to text)-> Manage Jenkins -> Manage Nodes
- Click New Node in the sidebar menu
- Enter a node name, and select permanent agent
- Click OK
- Now, fill out the node details.
- Description: xxxxxxxxxxxx.
- Executors: 1
- Remote root directory: /Users/Jenkins/Home
- Labels: agent
- Usage: only build jobs with label expressions matching this node
- Launch Method: Launch agent by connecting to controller
- Availability: Keep this agent online as much as possible
- Click save
Now we need to launch our node by clicking into it and following these steps:
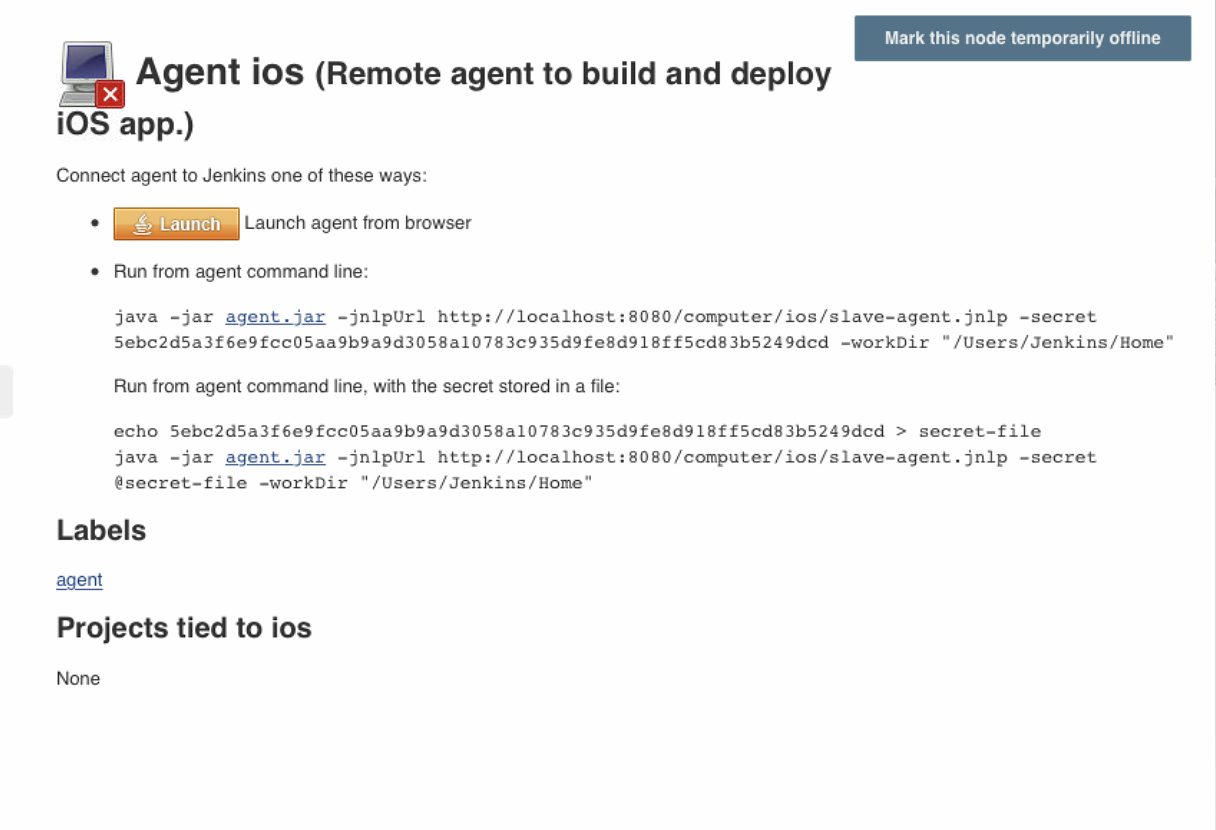
Once we have those nodes both running we can move on to our Jenkinsfile.
Here are good resources about the Jenkinsfile and Pipelines that can help you customize the file. Jenkins Doc Book Jenkins Syntax About Steps
Follow this guide to install AWS CLI on our server so we can store the artifacts directly to our S3 Bucket. The quickest way to get started is to run the aws configure command:
LANG:code
$ aws configure
Now, let's discuss our Jenkinsfile:
LANG:code
def bucket = 'xxxxxx'
Remember to commit/push this file to your git project. We have two nodes in our Jenkinsfile: iOS and Android that we set up in the previous steps. When these nodes get triggered from the GitHub hooks, it’ll go to stage("Checkout") and checkout scm will simply check out the code’s version which triggered the run. Then we will navigate to our specific environment directories (iOS or Android) and install dependencies. Next, we will use Fastlane lanes to do the heavy lifting when it comes to building the application and deploying it to where we want it in a configured format. Finally, we will store the artifacts to our S3 bucket specified at the top bucket of the mobile application once Jenkins has completed the build stage. At this point, we have set up our initial pipeline using our newly remote mac mini to fluidly run Jenkins and be able to build the nodes correctly per GitHub hook trigger.


