


In this post I'll show you how to receive webhooks in real time from GitHub.com, even if your CloudBees Core stuff is behind a firewall. You can generalize this to other services too - such as BitBucket or DockerHub, or anything really that emits webhooks, but the instructions will be for GitHub projects hosted on github.com. The benefit, of course, is that you can use these public hosted services if you like, but your Core instances do not necessarily have to be directly open to the internet.
What are webhooks
Just a very quick refresher on what webhooks are: Messages (often JSON, but not always) typically posted by HTTP(S) from a server to a client that is listening for events.
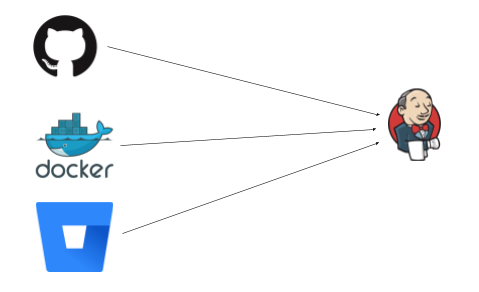
The events flow left to right, Jenkins sits there happily listing on paths like /github-webhook/ or /dockerhub-webhook/ etc for some HTTP request to tell it to wake up and do some work.
GitHub/BitBucket may be reporting a new commit or PR, or DockerHub reporting an upstream image has changed. What all these things have in common is that they push to Jenkins, and expect to be able to push to it (ie that Jenkins is visible to them). This works great when the network is open - say GitHub Enterprise, or Jenkins is listening on the web.
Not on the web
The trick is when something gets in the middle, say a firewall:
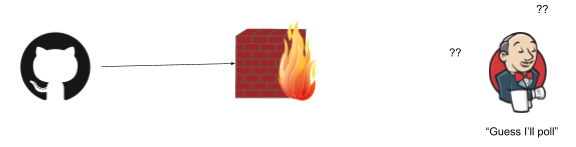
(As is industry standard, all firewalls have to be a wall on fire. Please don’t somehow set bricks on fire in your organization).
This is just the same when you fire up Jenkins on your laptop, and want to receive webhooks from github.com (a legitimate thing, perhaps to test out your setup, perhaps to run builds for iOS on a mac, or some corner of a network that is not exposed to the web). Unless your laptop is addressable to the whole web that is (not likely), or your network is configured just right, the webhooks won’t be able to flow.
This is fine - we can fall back to polling for changes. Except this is terrible. You burn through API quotas, and you don’t get changes in real time, and really no one is happy.
Some problems are opportunities
We can both solve this problem, but also, view this is an opportunity. Having things not addressable on the web, or locked down in some default way is a feature, not a bug. You massively reduce your attack surface, and can have defense in depth:
A webhook forwarding service
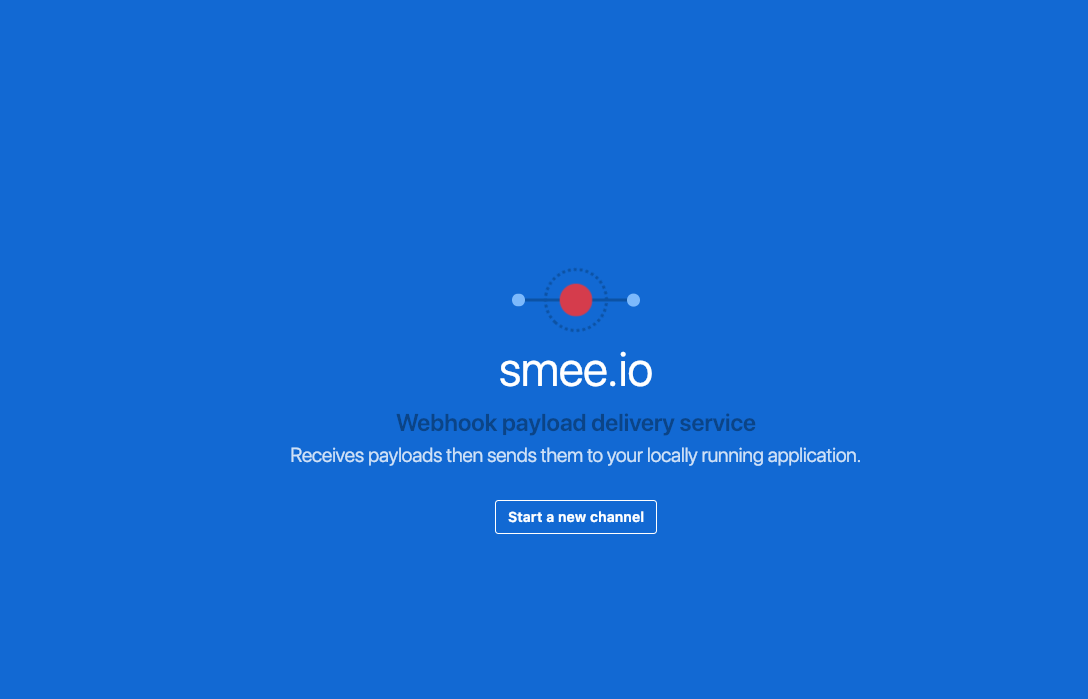
Enter the memorably named Smee . This is an OSS project provided by GitHub and also helpfully hosted as a service by GitHub. This can capture and forward webhooks for you. I’ll try to explain it with a diagram:

GitHub pushes an event (via HTTPS/json in this case) to Smee.io (the funny thing with circles, which is on the public web and accessible from GitHub.com) - and Jenkins in turn subscribes to Smee with an outgoing connection from a client. Note the direction of the arrows: Jenkins only makes an outbound connection.
This is an important point: this will work as long as the firewall is one way (like a NAT typically is, and many networks). If the Jenkins side can’t connect to anything on the outside world - well, this won’t help with that of course (but that is not often the case).
Setting it up
Step 1: Firstly - go to https://smee.io/ and click “Start a new channel”:
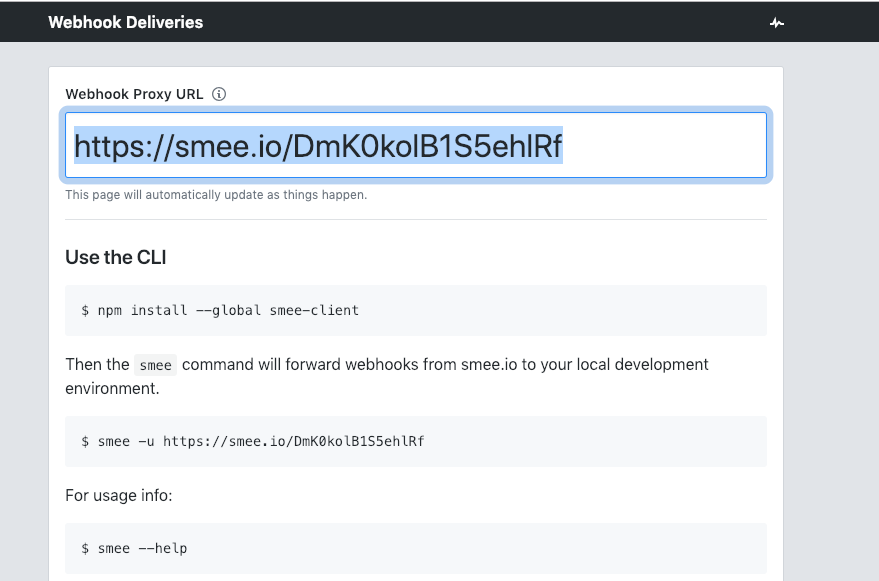
This will give you a unique URL (which you should copy for later use):
Next you should install the smee client next to where you have the Jenkins server running:
npm install --global smee-client
(This will make the smee client/command available to receive and forward webhooks).
Now start the smee client and point it to your Jenkins server. In this case I have it running on port 8080 (the default if you fire it up on your laptop, change both the port and the smee URL as needed):
smee --url https://smee.io/GSm1B40sRfBvSjYS --path /github-webhook/ --port 8080
This says to connect to the smee service, and forward webhooks to /github-webhook/ (that trailing slash is important, don’t miss it). Once this is running, you will see it log that it is connected and forwarding webhooks. Leave this command running for as long as you want to receive webhooks.
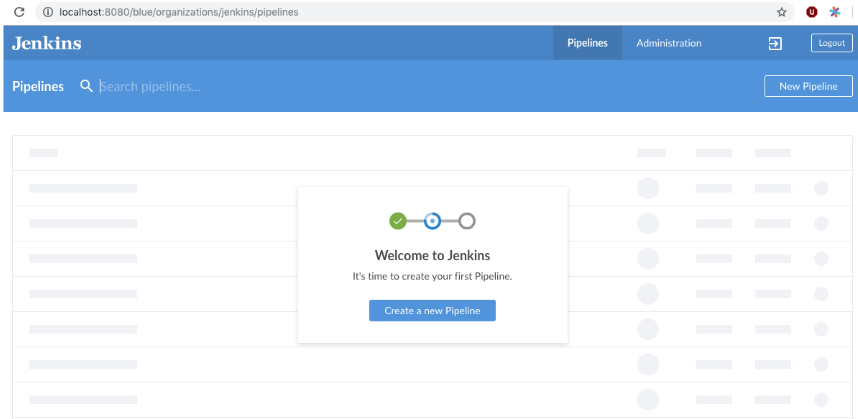
Next, you need to configure a pipeline that makes use of GitHub. In this case I set up one from scratch. You can skip this if you already have a pipeline setup:
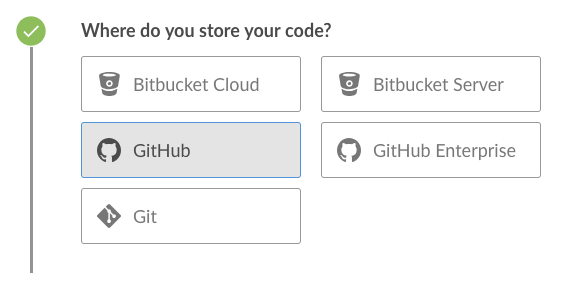
I then chose “GitHub” as the where the code is:
Then choose your repository. This will set things up ready to receive webhooks from GitHub. (If you have an existing pipeline setup, and it is using GitHub as the SCM source, that is also fine).
The final step is to tell GitHub to post webhook events for that repository (or organization, you can do that too) to Smee (which ultimately means Jenkins will receive them).
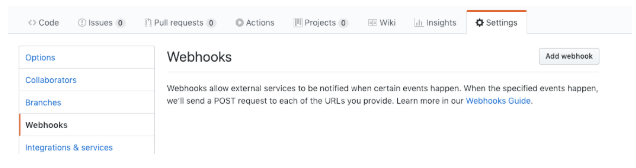
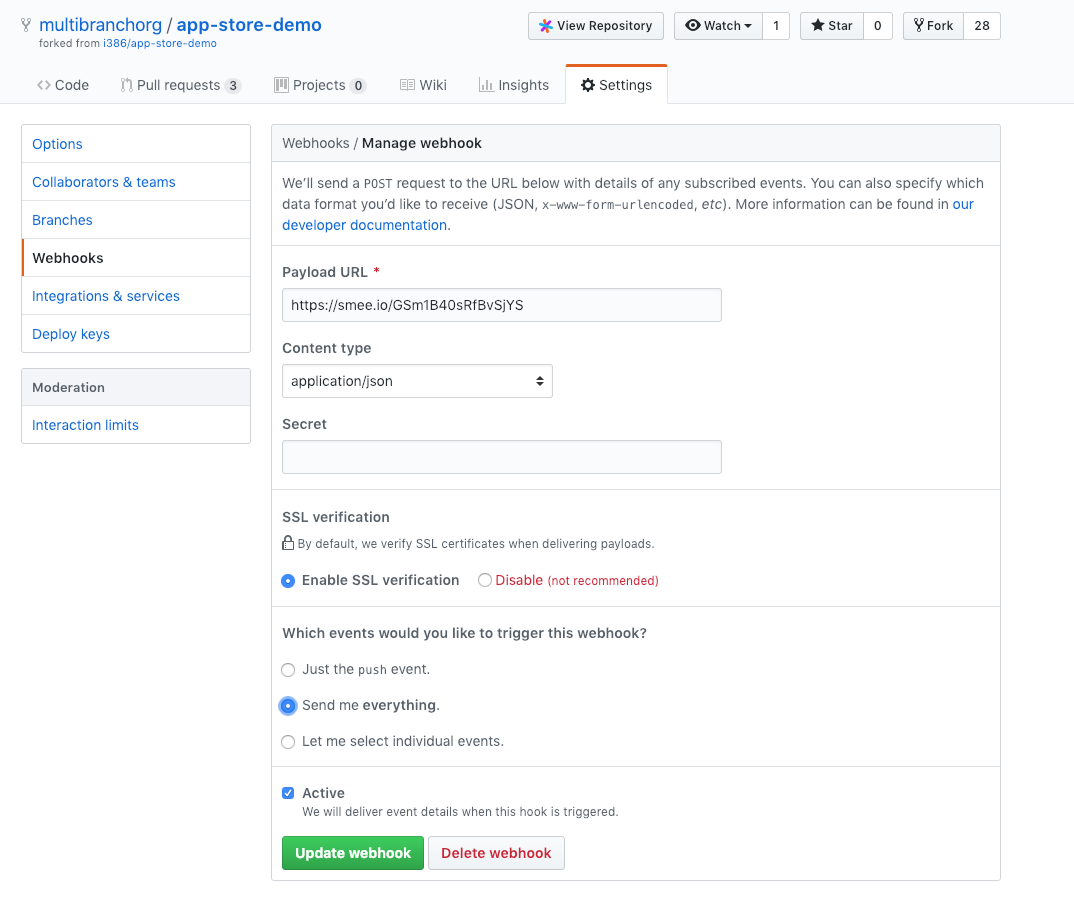
Go to the settings tab for your GitHub repository, and then click “add webhook”:
Next, configure the webhook:
- Paste in the “smee” URL you copied from the step above.
- Choose application/json as the content type.
- Tell it to send everything (you can pick and choose what events, but I just did that as simpler).
- Press Add Webhook (or update).
It should look something like this:
Webhooks should be flowing now. You can make a change to your repository, and check that a build starts soon after:
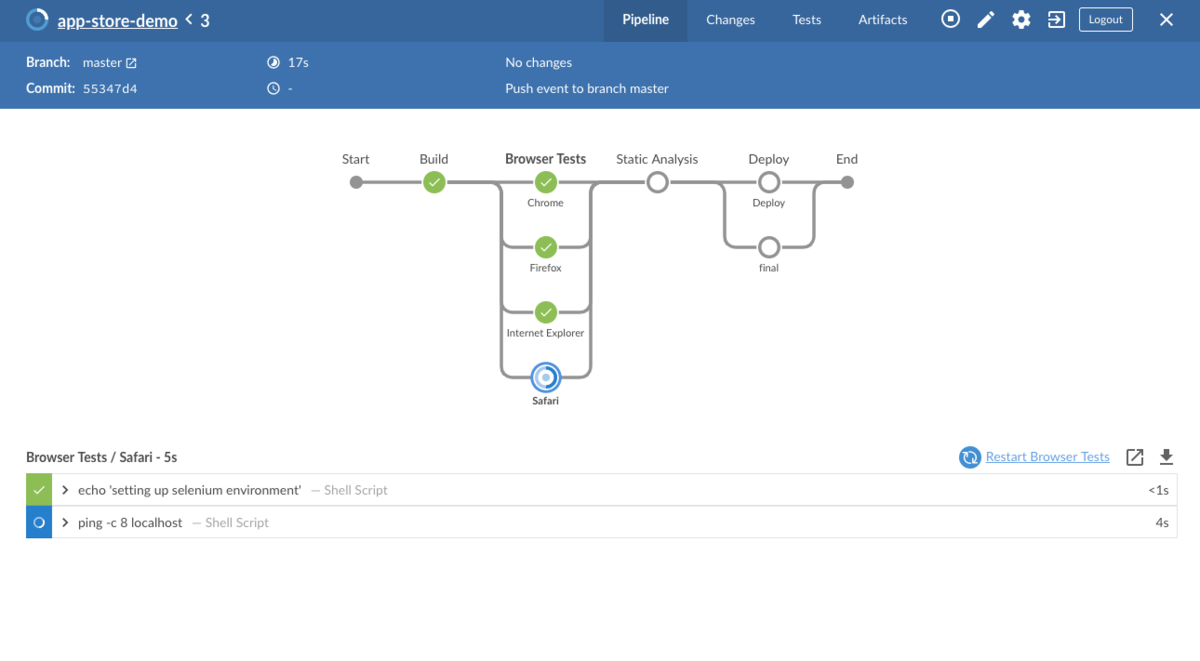
Good luck!
You can also get support from CloudBees for Jenkins if you need it.
Additional resources
- Watch a webinar on performance test automation


